

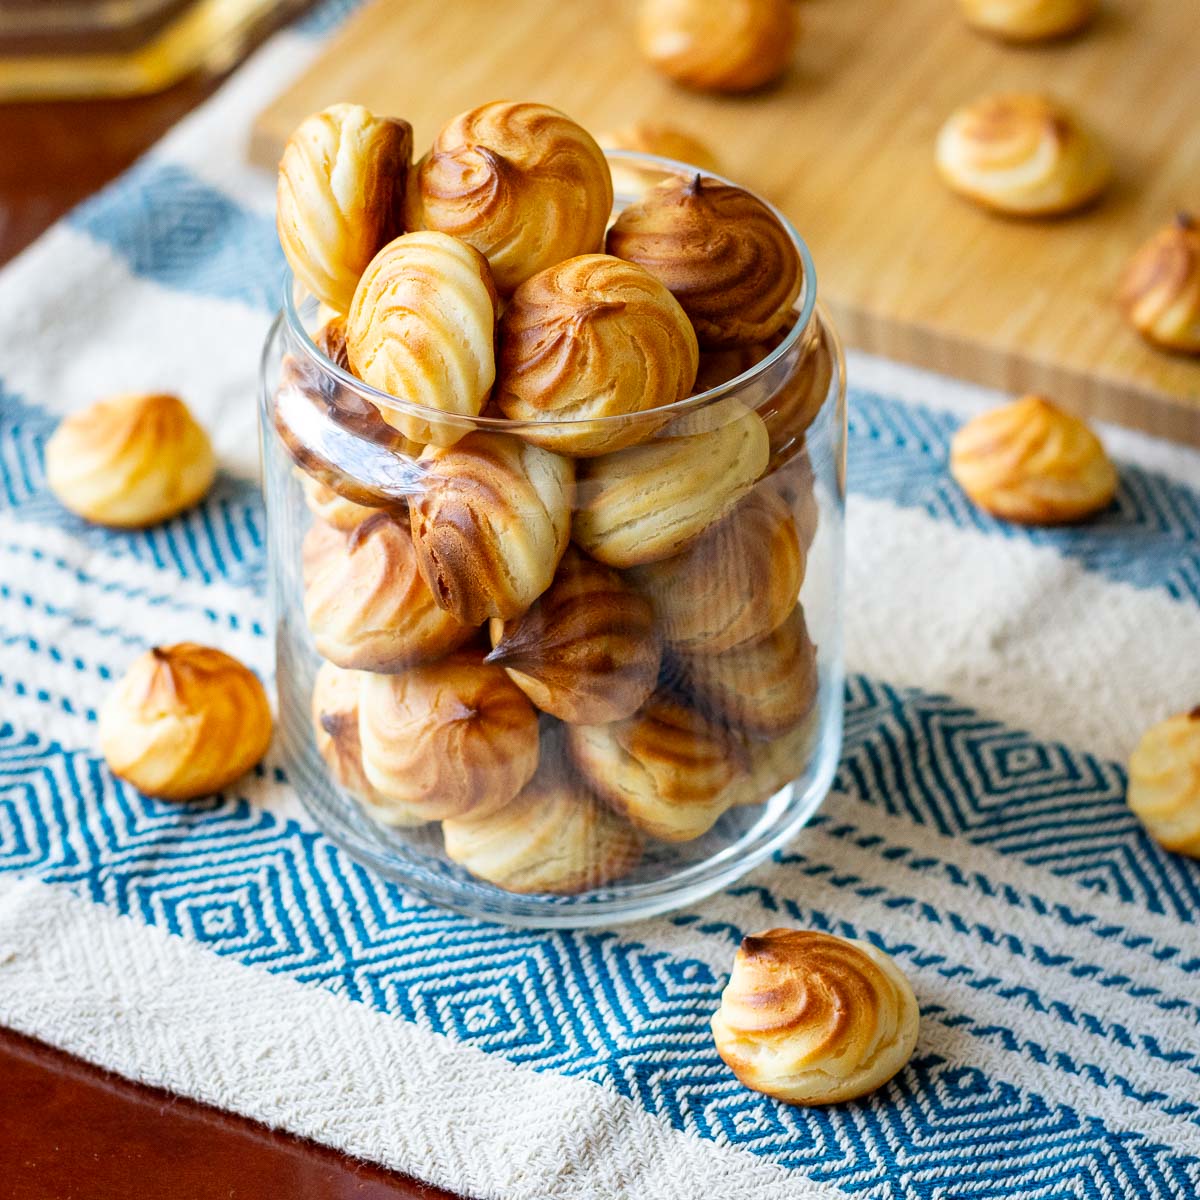
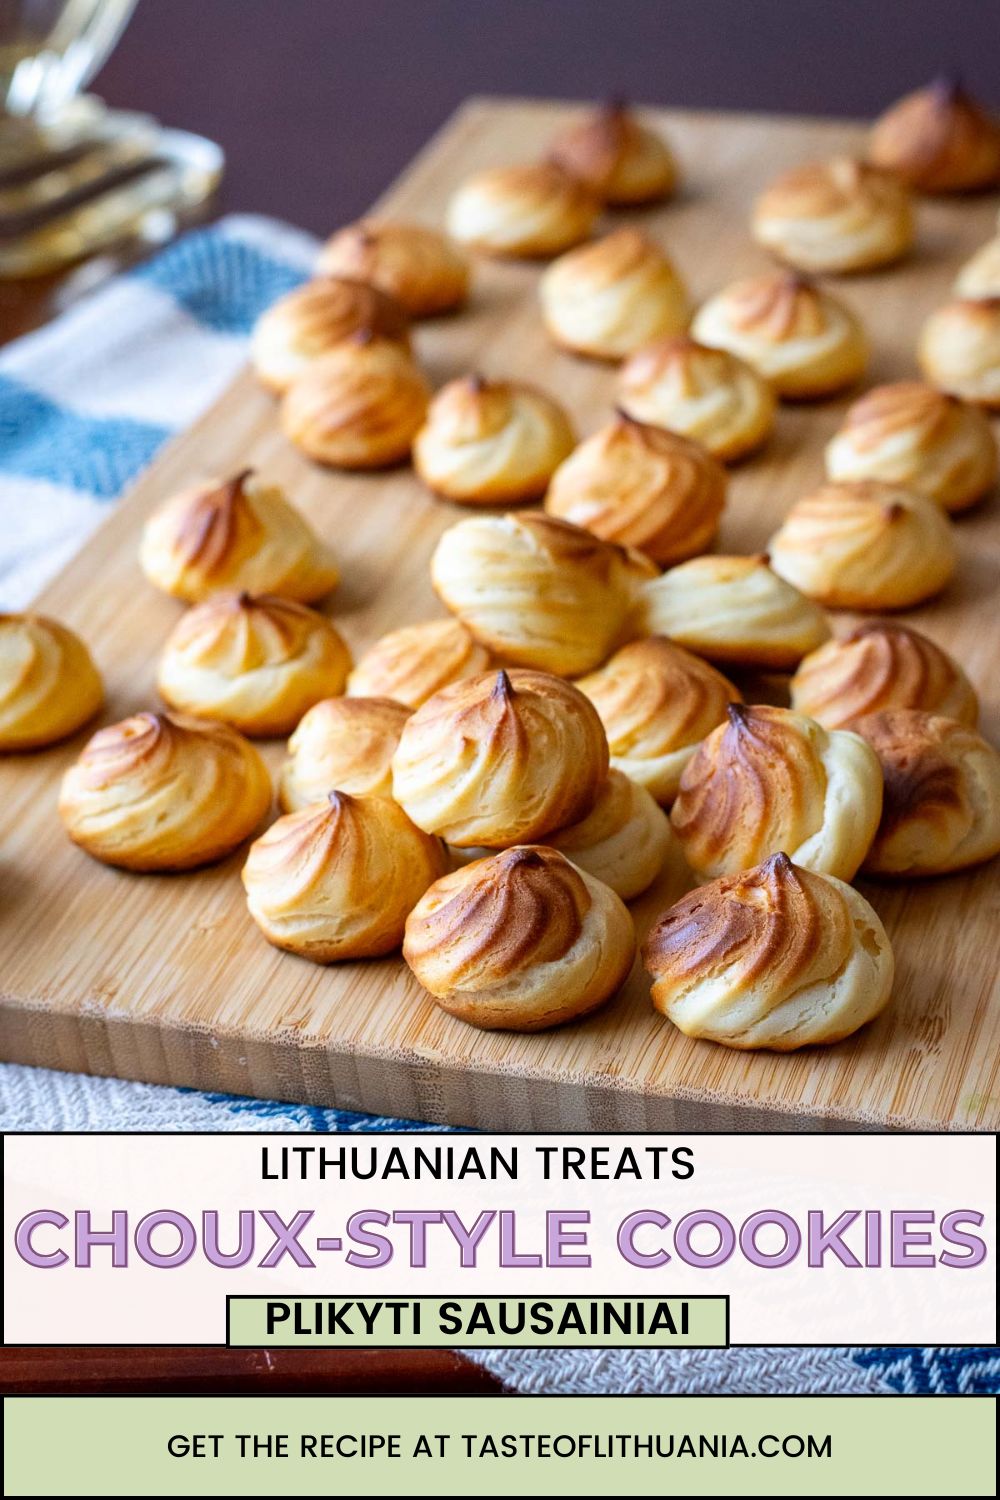
There are some recipes that instantly bring back the feeling of childhood kitchens — warm ovens, the smell of butter and sugar, and a tray of tiny pastries waiting to cool on wire racks. These Lithuanian cookies, known as Plikyti Sausainiai, may technically be choux pastry rather than traditional cookies, but in Lithuania, they have always been treated like cookies. Light, airy, and slightly crisp, they are one of those simple Lithuanian desserts that disappear from the table faster than you expect. They are humble, nostalgic, and surprisingly satisfying for such small cookies.
Jump to:
Plikyti Sausainiai - A True Childhood Treat
The name Plikyti Sausainiai literally translates to “scalded cookies”. The name refers to the technique used to make them: flour is “scalded” with hot milk and butter before eggs are added. This creates a dough similar to French choux pastry.
Despite their technical roots, these cookies feel deeply rooted in Lithuanian culture. They appear in home baking more often than in bakeries and belong to that category of recipes every Lithuanian family seems to know by heart.
My earliest memory of them is not exactly elegant. Instead of eating them politely, I would bite half off several cookies and stick the remaining halves onto my fingers, turning them into tiny finger puppets. Why nobody told me not to play with food remains a mystery. But those playful childhood moments are exactly what make these delightful cookies feel so special.
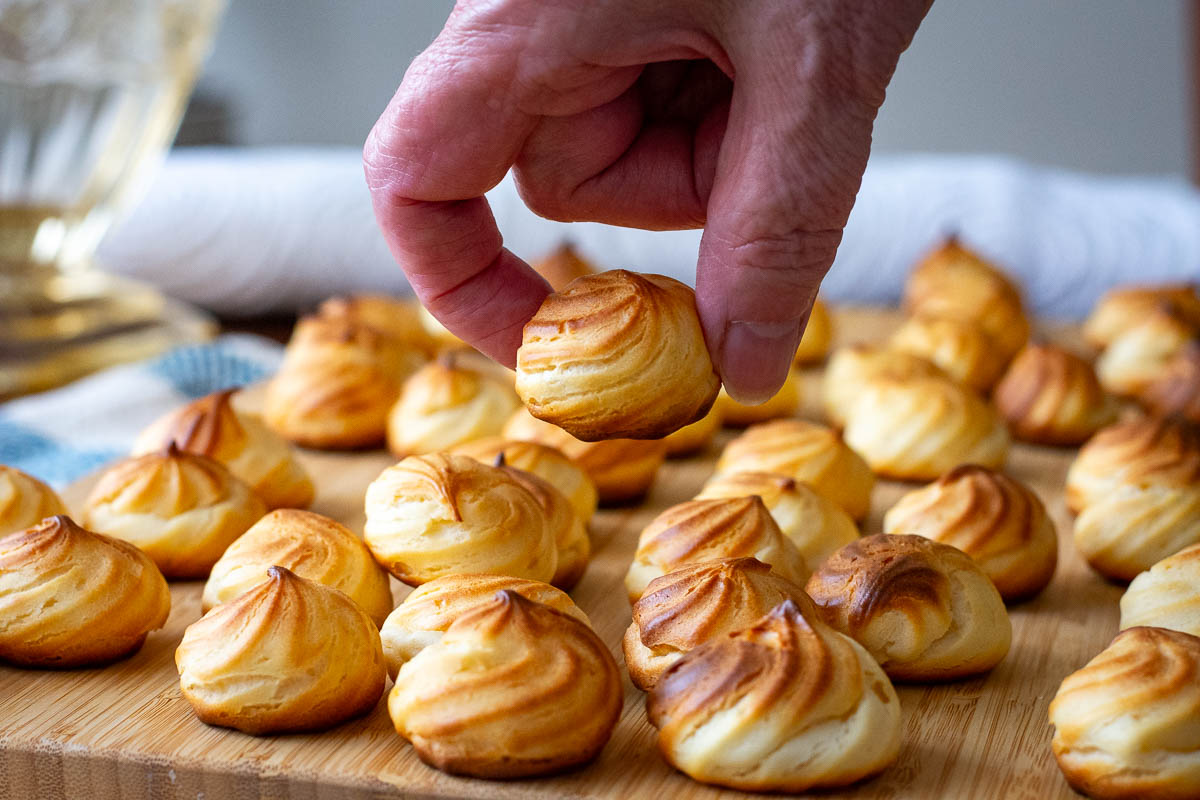
They are simple, nostalgic, and unmistakably part of the wider world of traditional Lithuanian desserts.
Ingredient Notes
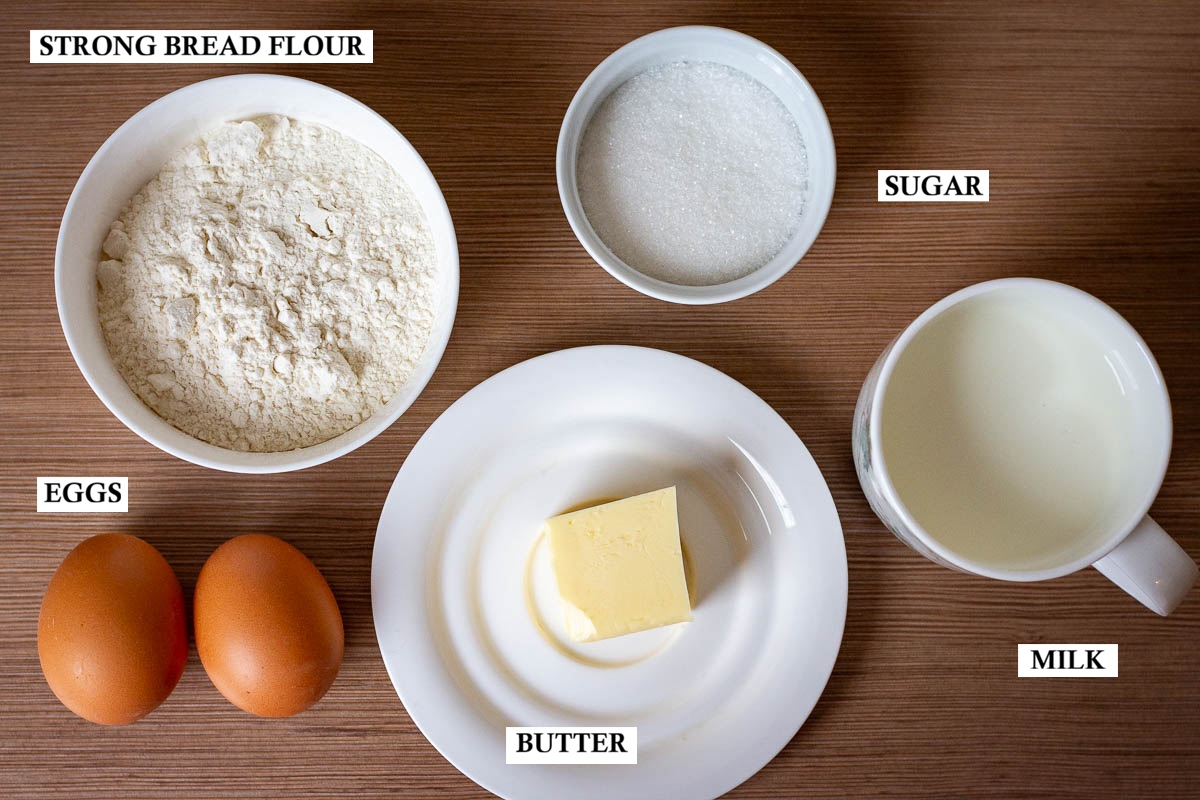
This (not-so) simple recipe uses only a handful of ingredients, but each plays an important role in the structure of the pastry.
- Milk. Milk forms the base of the dough and provides moisture for the flour to absorb when it is “scalded.” We used whole milk.
- Granulated Sugar. Adds sweetness and helps the cookies brown slightly during baking.
- Unsalted Butter. Butter gives richness and structure. European butter with a slightly higher fat content works particularly well.
- Bread Flour. While many choux recipes use all-purpose flour, bread flour (around 12% protein) helps the cookies hold their shape as they puff during baking.
- Eggs. Eggs provide the lift that makes choux pastry expand in the oven. They should be added gradually so the dough reaches the correct consistency.
Step-By-Step Method
Making choux pastry can feel intimidating the first time, but it’s surprisingly straightforward once you understand the process.
1. Preheat the oven. Preheat your oven to 390°F (200°C) and line two cookie sheets with parchment paper.
2. Heat the milk mixture. In a medium saucepan, combine milk, sugar, and cubed unsalted butter. Heat over medium heat until the butter melts and the mixture begins bubbling around the edges.
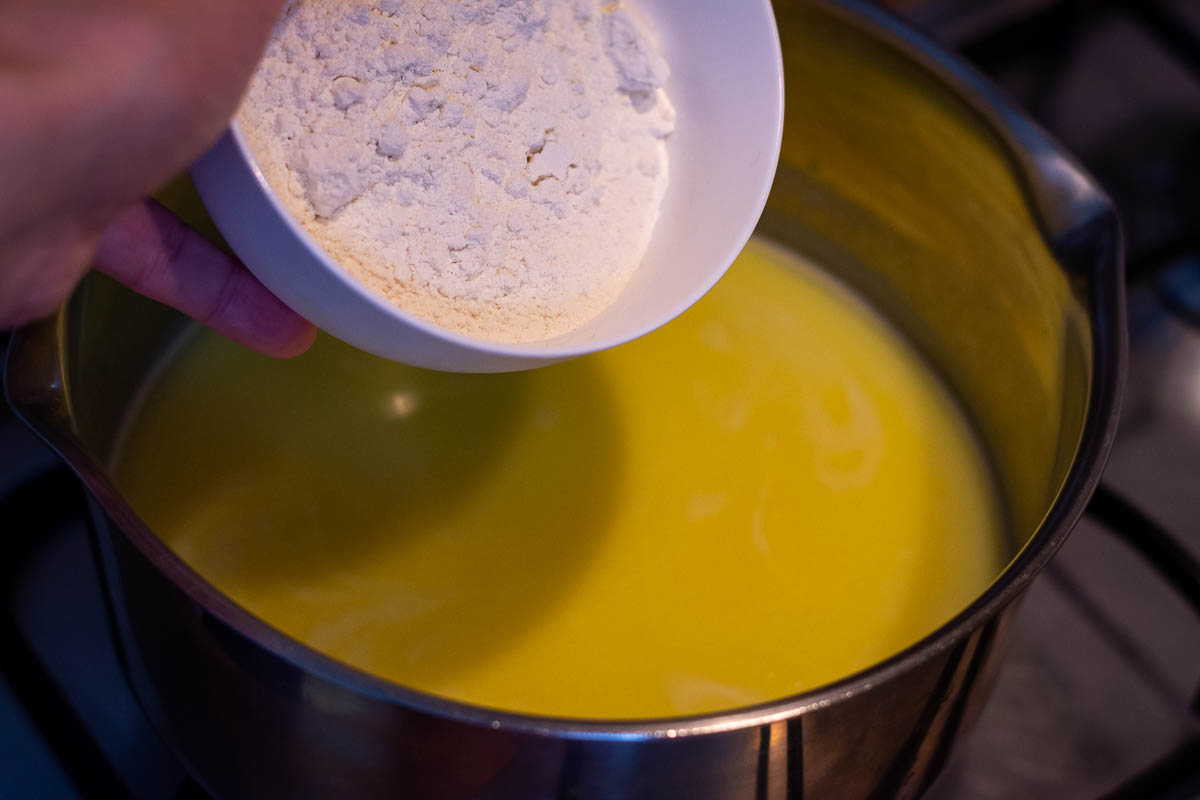
3. Add the flour at once. Remove the pan from the heat and add all the flour immediately. Stir vigorously using the rod end of a wooden spoon until the dough forms a smooth ball that pulls away from the sides of the pan.
Tip: If the dough looks lumpy at first, keep stirring. It will smooth out as the flour hydrates.
4. Cool slightly before adding eggs. Transfer the dough to a large bowl and let it cool for about 5 minutes.
Tip: If the dough is too hot when eggs are added, they will scramble.
5. Add eggs gradually. Add the beaten eggs in three additions, mixing on low speed or by hand until fully incorporated.
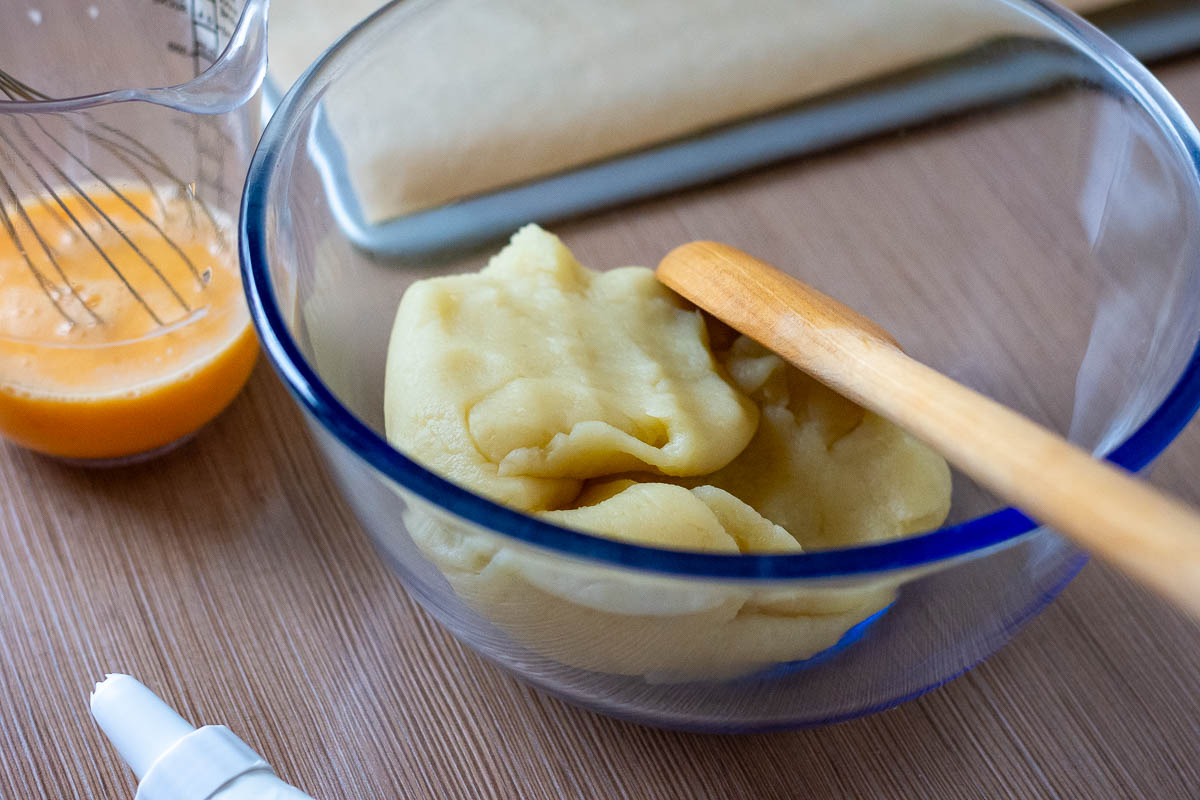
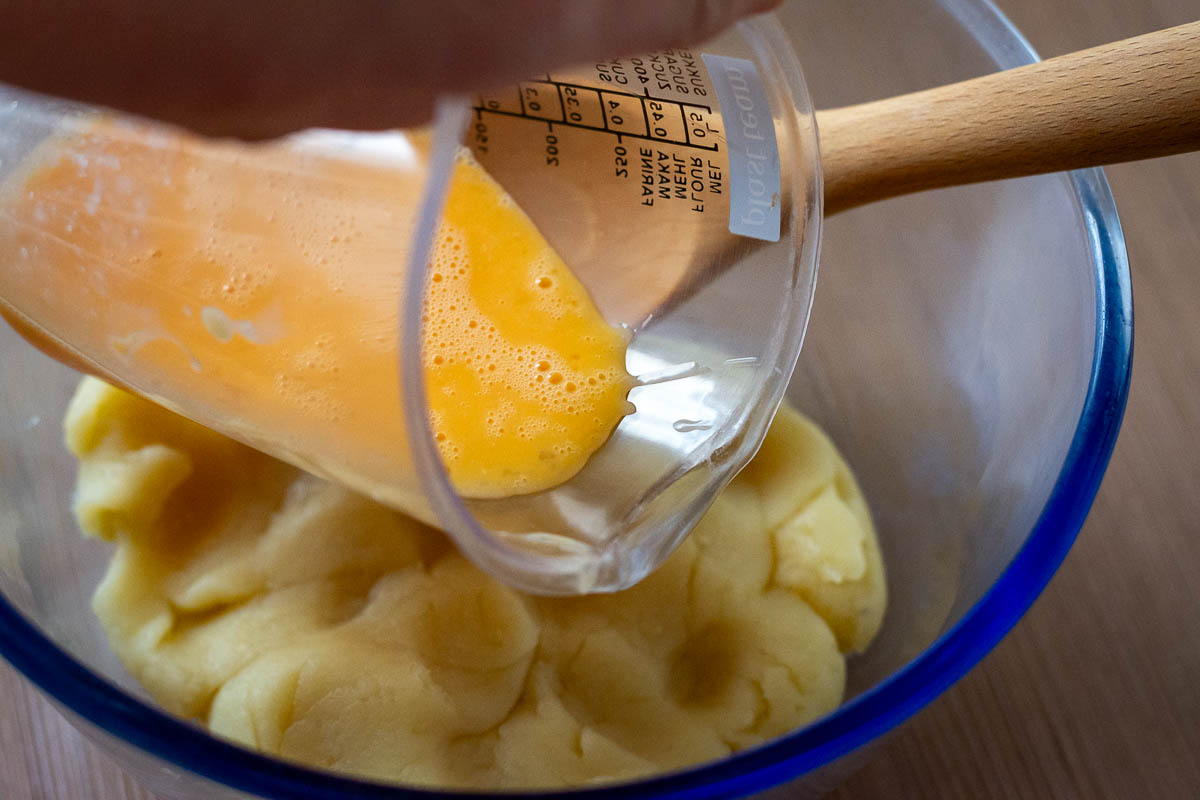
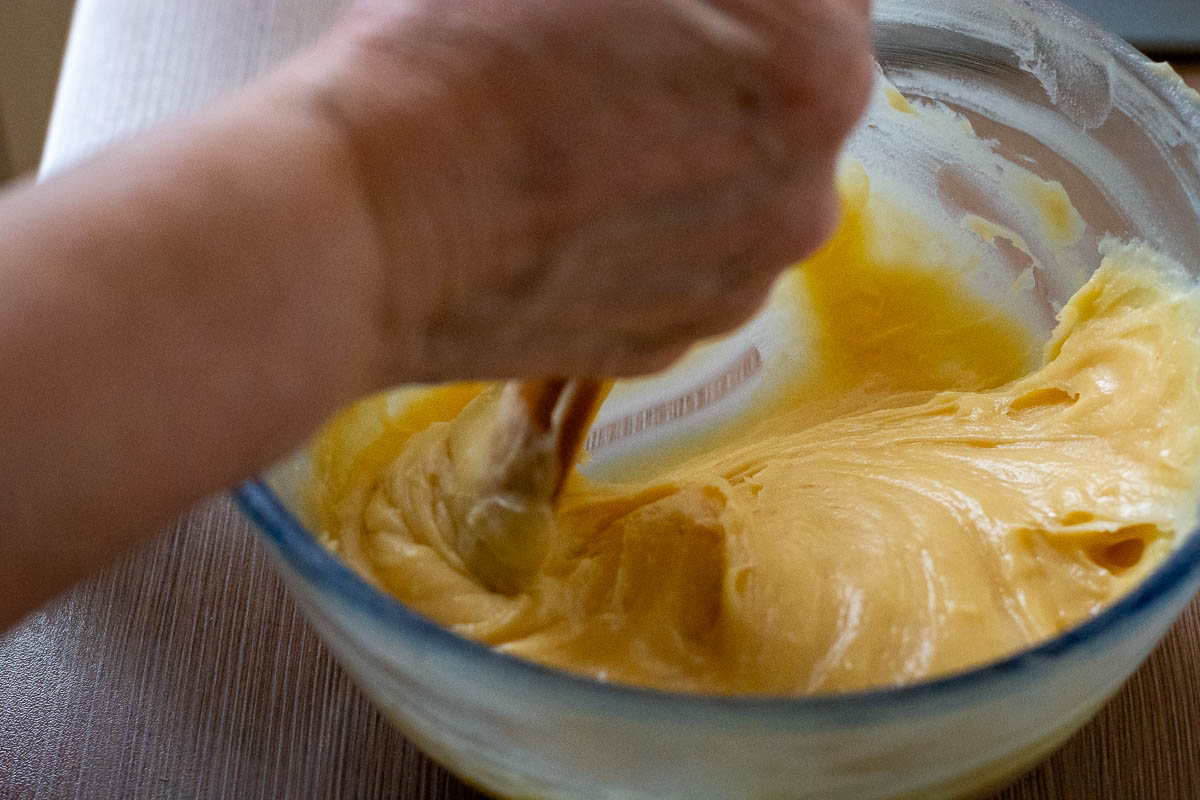
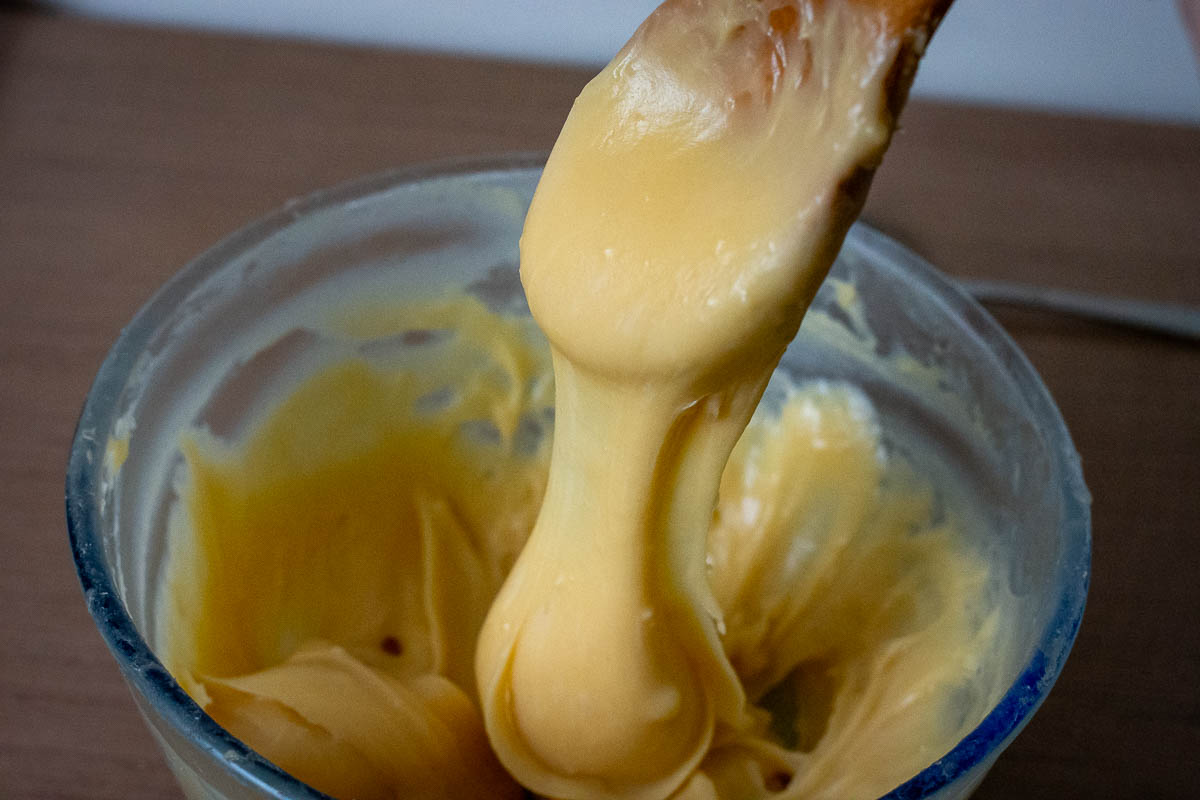
Tip: The dough should become glossy and smooth. When lifted with a spoon, it should fall very slowly in a V-shape. If it runs off quickly, it is too thin. If it tears as it falls, it's too thick - add a little bit more egg.
6. Pipe the cookies. Transfer the dough to a piping bag and pipe small rounds about 1 inch (2.5–3 cm) wide onto the prepared cookie sheets.
Tip: Leave space between each cookie. Choux pastry expands as it bakes.
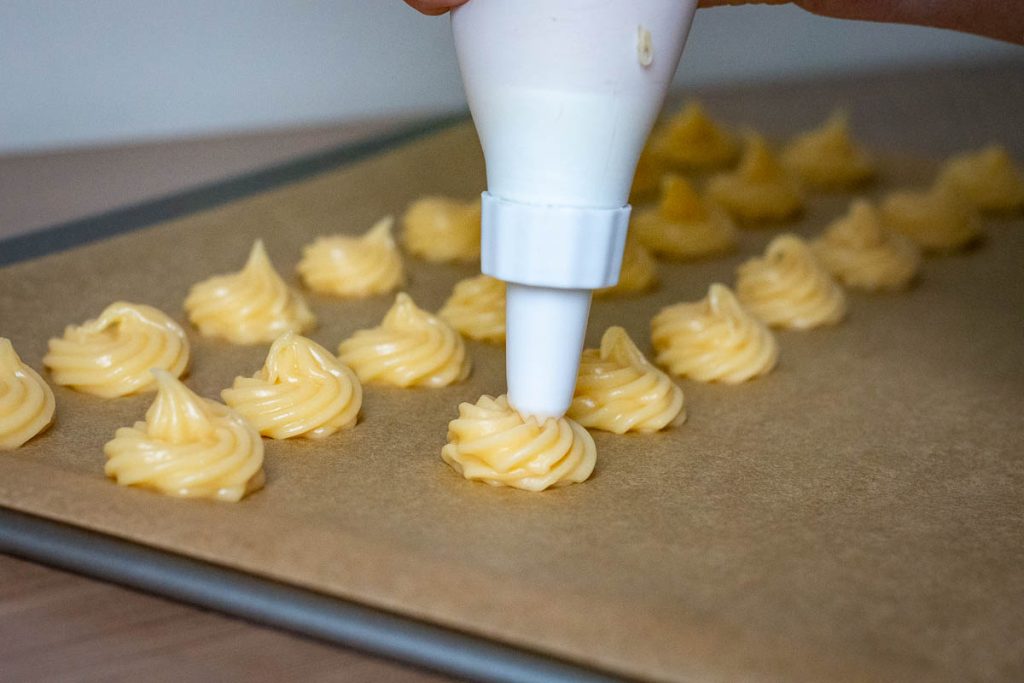
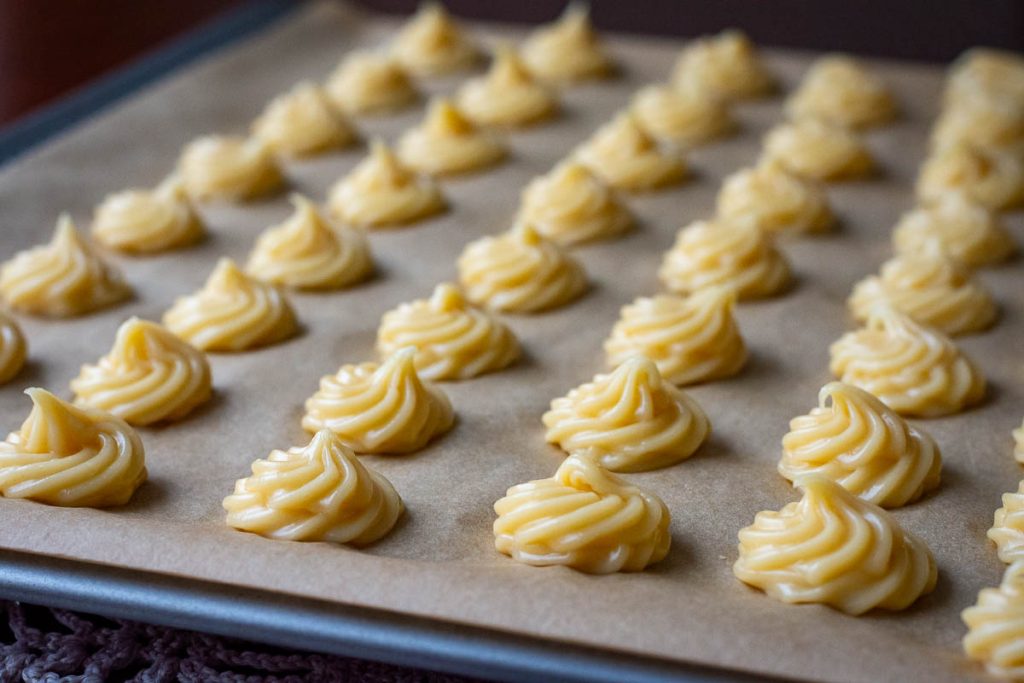
7. Bake without opening the oven. Bake for 15–20 minutes until puffed and lightly golden.
Important tip: Do not open the oven door during baking. Sudden temperature drops can cause the cookies to collapse.
8. Dry the cookies. Once baked, turn off the oven and leave the cookies inside with the door slightly open for about 5–10 minutes.
9. Cool completely. Transfer to wire racks and allow them to cool at room temperature.
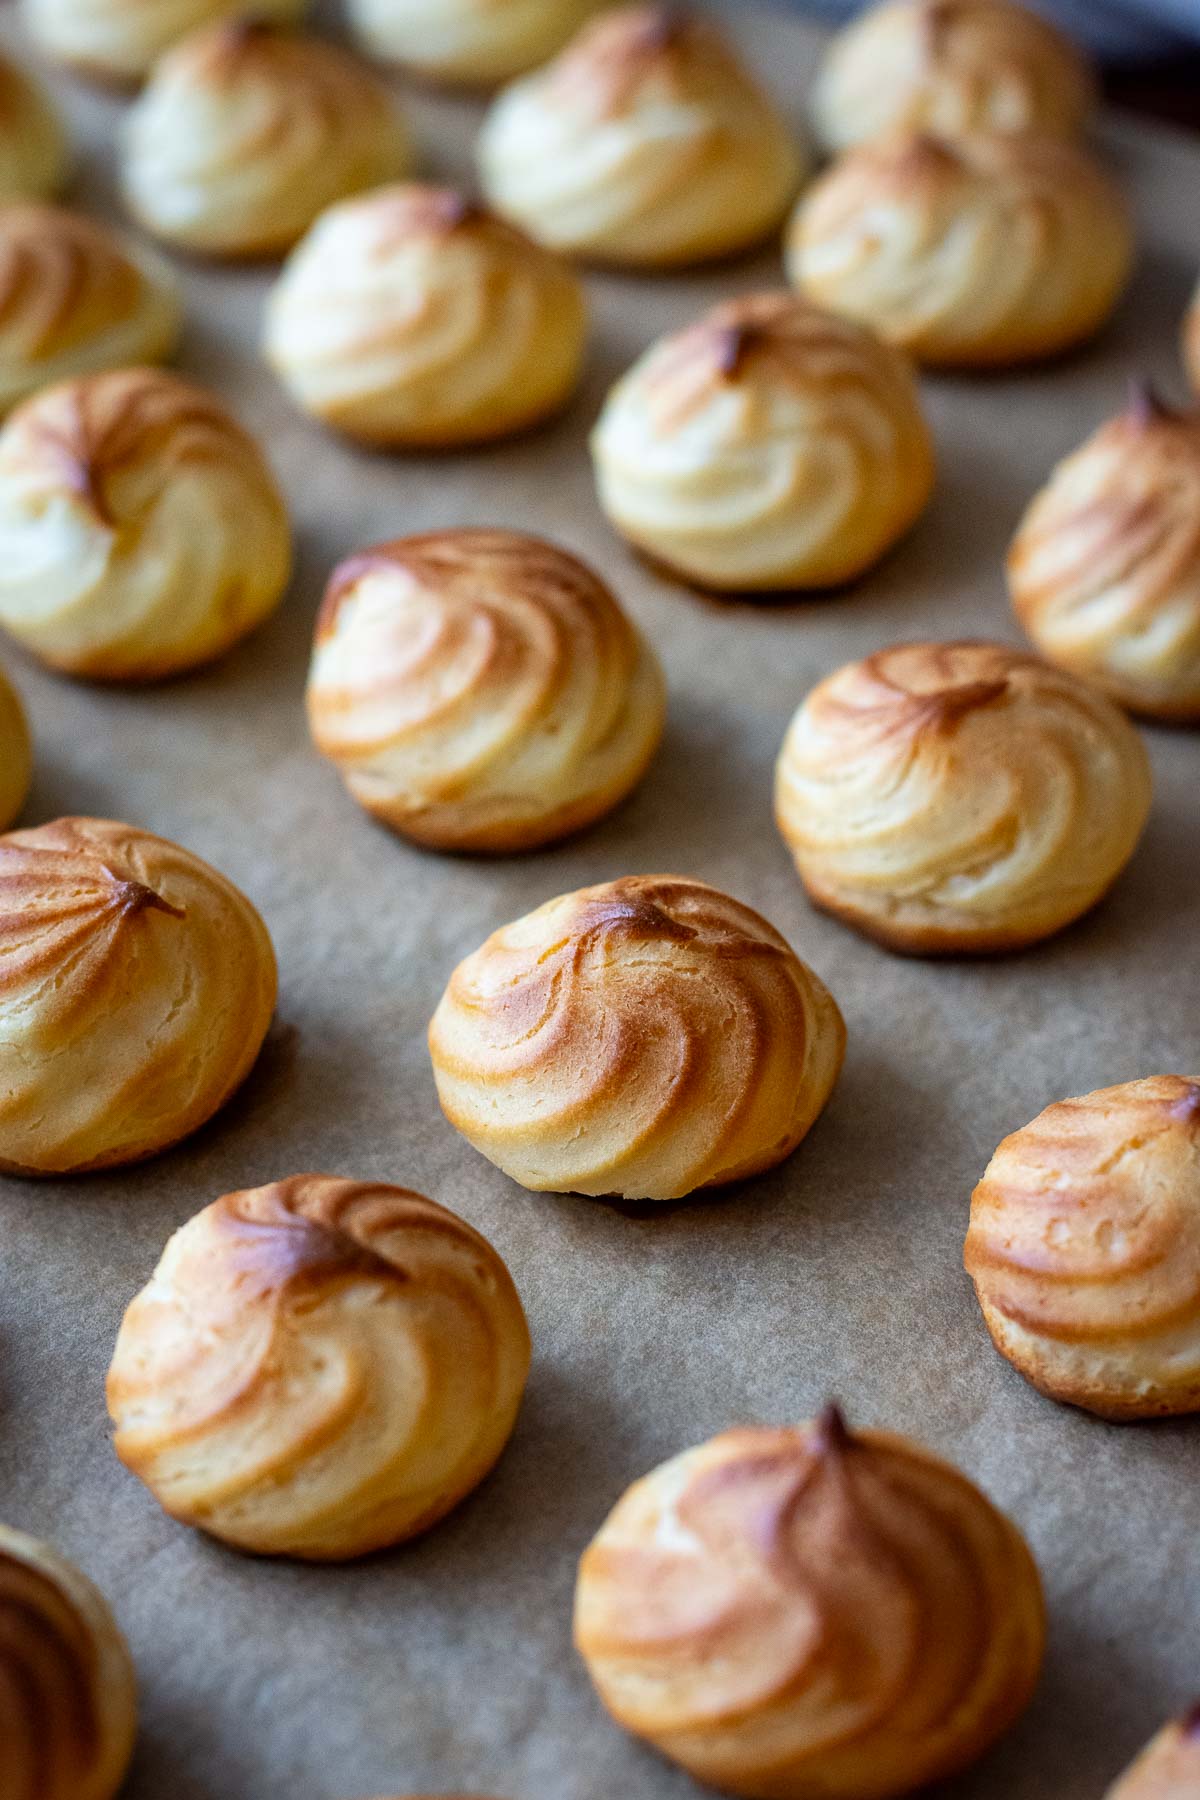
When done correctly, these Lithuanian cookies should be light, hollow inside, and slightly crisp on the outside.
Storage
Plikyti Sausainiai are best eaten the same day, when the shells are crisp and airy. However, they can be stored in an airtight container at room temperature for up to two days.
If they soften slightly, simply place them back in a warm oven for a few minutes to restore their crisp texture.
They are not ideal for freezing once baked, but the remaining dough can be piped and frozen before baking if needed.
More Lithuanian Cookies
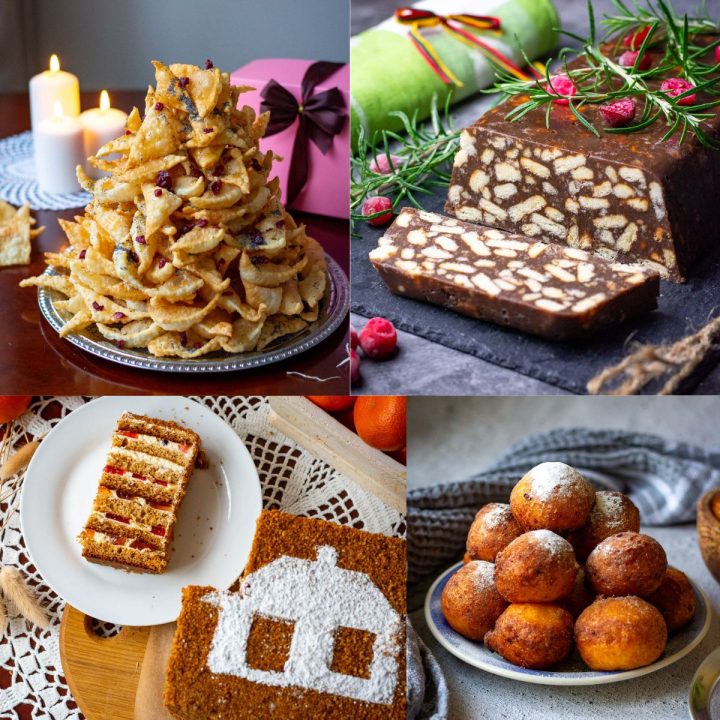
If you enjoy these nostalgic Lithuanian cookies, I’ll link more traditional cookie recipes below — including festive Christmas cookies, regional sweets, and other tasty treats from Lithuanian home baking.
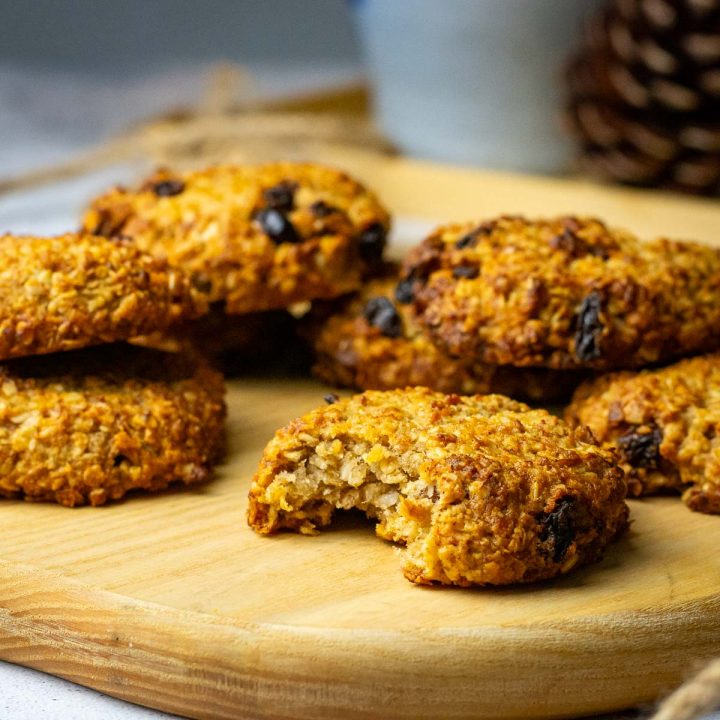

Lithuanian Choux Cookies (Plikyti Sausainiai)
Equipment
- Wooden Spoon
- Electric Handheld Mixer, optional
- Baking Sheets
- Piping Bag With A Nozzle Attachment
Ingredients
- 225 ml (1 cup) milk
- 65 g (⅓ cup) granulated sugar
- 50 g (3½ tbsp) unsalted butter cubed
- 120 g (1 cup) strong bread flour about 12% protein
- 3 large eggs about 165 g, lightly beaten, you may not need all of it
Instructions
- Place the milk, sugar and cubed butter in a medium saucepan over medium heat.
- Stir until the butter melt and the mixture starts bubbling around the edges.
- Remove the saucepan from the heat and immediately add all the flour to the still-hot mixture at once. Stir quickly and vigorously with a wooden spoon. At first the dough will form lumps, but as you continue mixing it will become smooth and come together into a single ball.
- Transfer the dough to another bowl and let it cool for a few minutes so that the eggs added later do not cook in the hot dough.
- Once the dough has cooled slightly, add the eggs (about ⅓ at a time), mixing well after each addition with a wooden spoon or beating with an electric mixer on low speed until smooth. Pay attention to the consistency of the dough. It should not be too thick (otherwise the cookies will not rise well) or too runny (otherwise they will lose their shape, collapse and bake like flat pancakes). When you scoop the dough with a spoon and turn it over, the dough should slowly fall from it — not run off and not cling stubbornly to the spoon. Depending on the dough consistency and the size of the eggs, adjust the number of eggs used — you may need four if the eggs are very small, or only two if the eggs are very large.
- Preheat the oven to 200°C (390F). Line two baking sheets with parchment paper.
- Transfer the prepared dough into a piping bag fitted with a nozzle attachment.
- Pipe small round cookies (2.5-3cm) onto the baking paper, leaving 3–4 cm gaps between them, as they will rise and expand during baking.
- Place the sheets in the preheated oven and bake for about 15-20 minutes. Do not open the oven door during baking, otherwise the cookies may collapse.
- Let them cool in the oven with the door slightly open, then remove and allow them to cool completely at room temperature.
Leave a Reply