

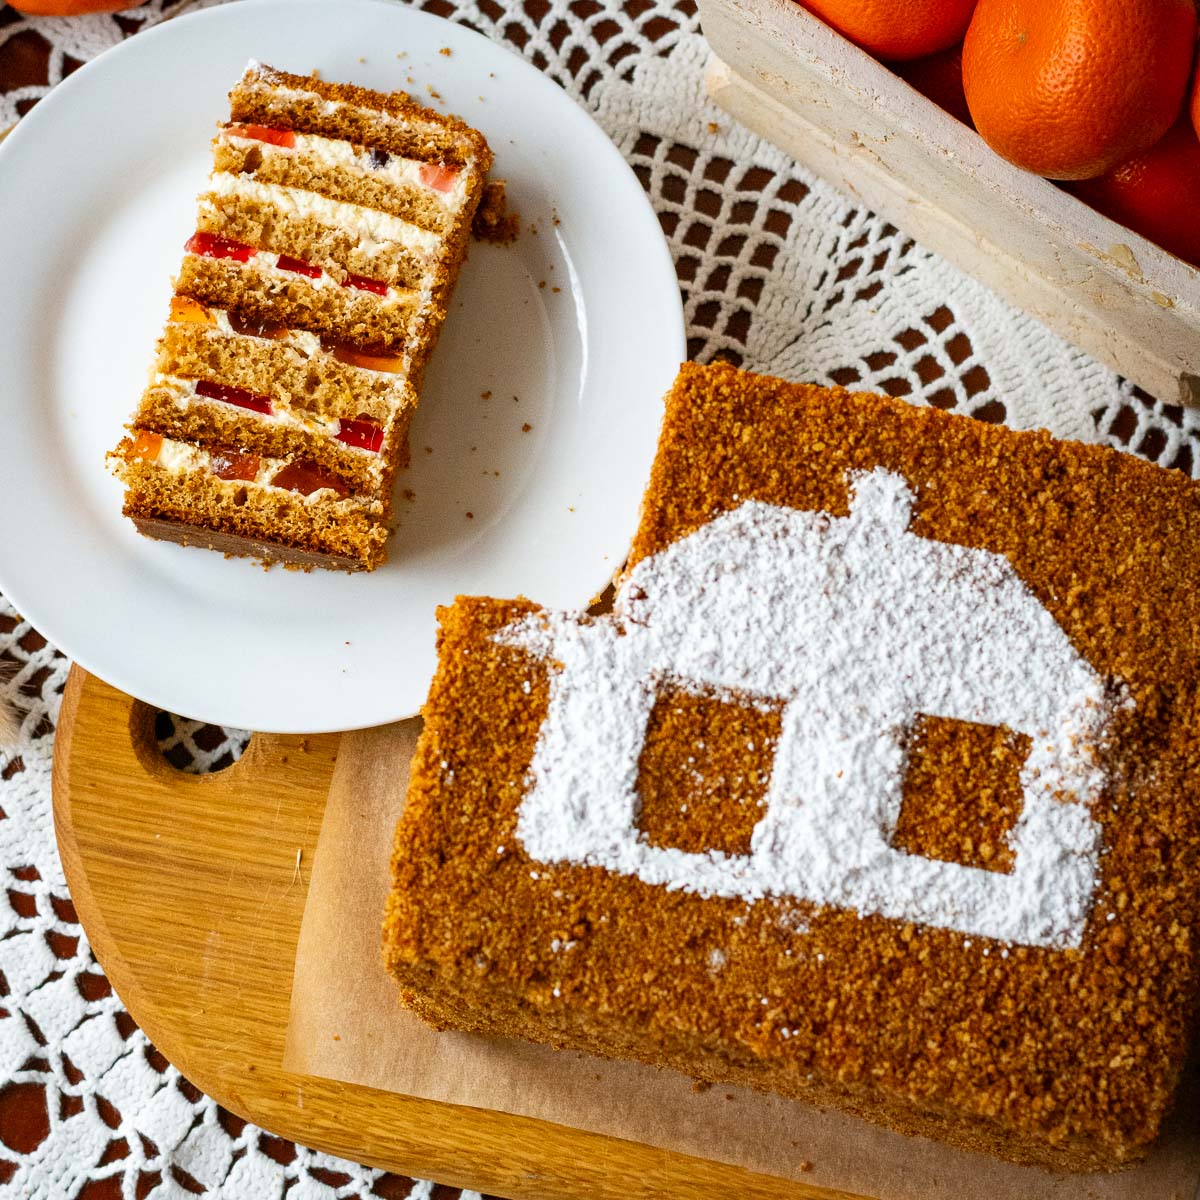
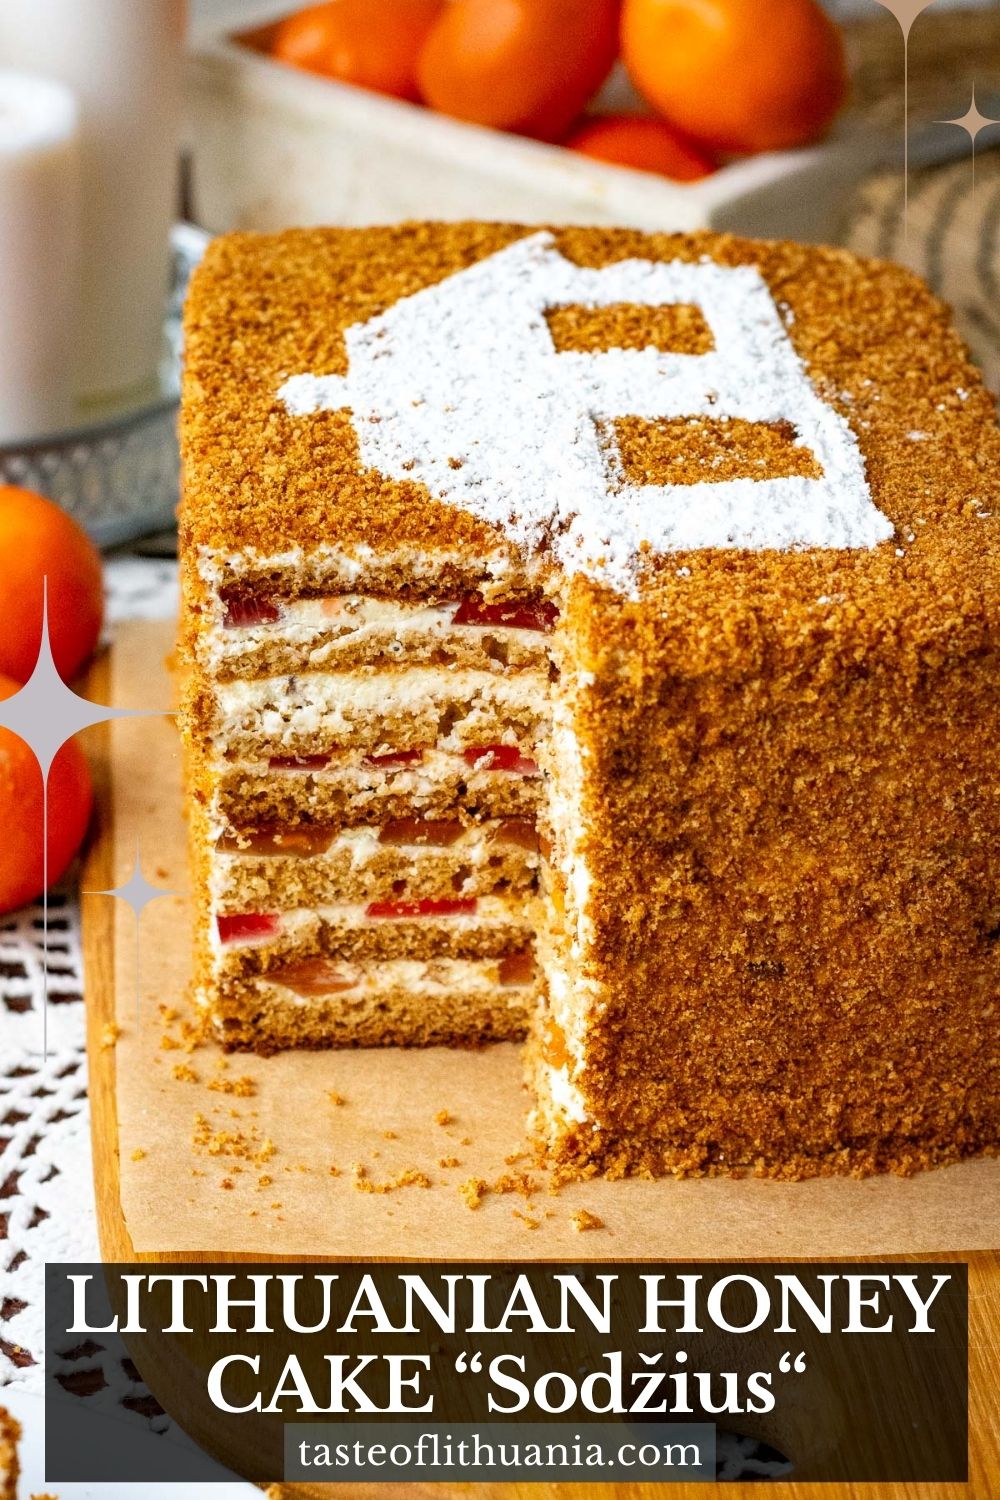
There are cakes you bake for occasions, and then there are cakes that feel like a memory. This Lithuanian Honey Cake, known as Sodžius, sits firmly in both categories. Soft sponge, tangy sour cream filling, and little pockets of colorful jello hidden between delicate cake layers — it’s a nostalgic, slightly playful take on a classic layered honey cake.
Jump to:
What is "Sodžius"?
In Lithuania, there are two types of Lithuanian honey cake. One is made with thin, crisp cookie disks that are soaked in tea and layered with cream (you can find this Lithuanian Honey Cake recipe on my other blog). The other — the one we’re making here — is a soft sponge-based version known as Sodžius.
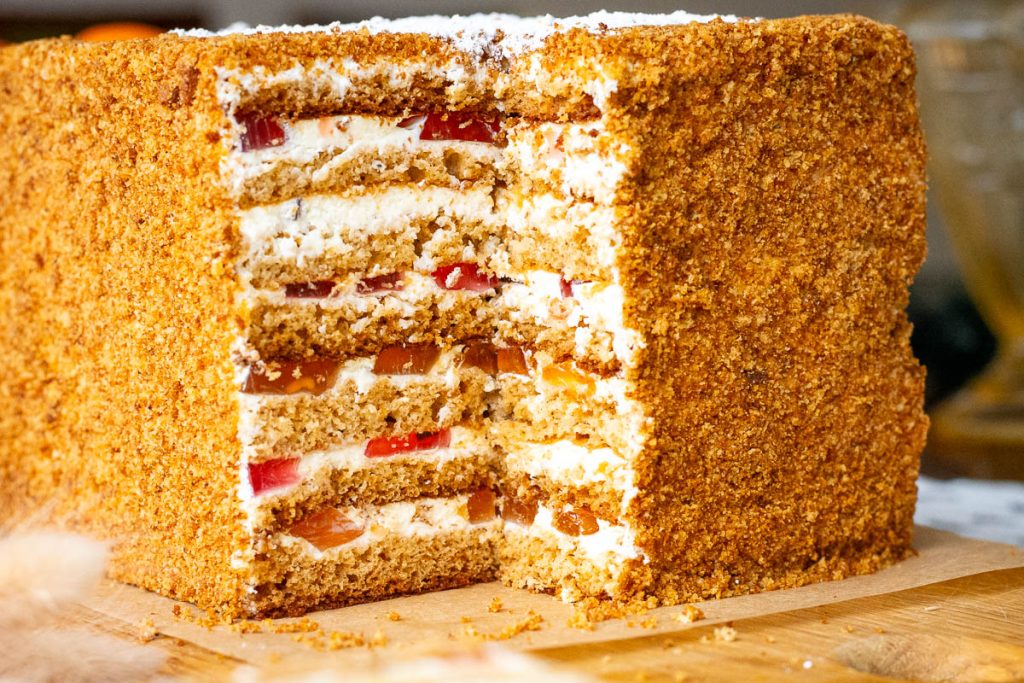
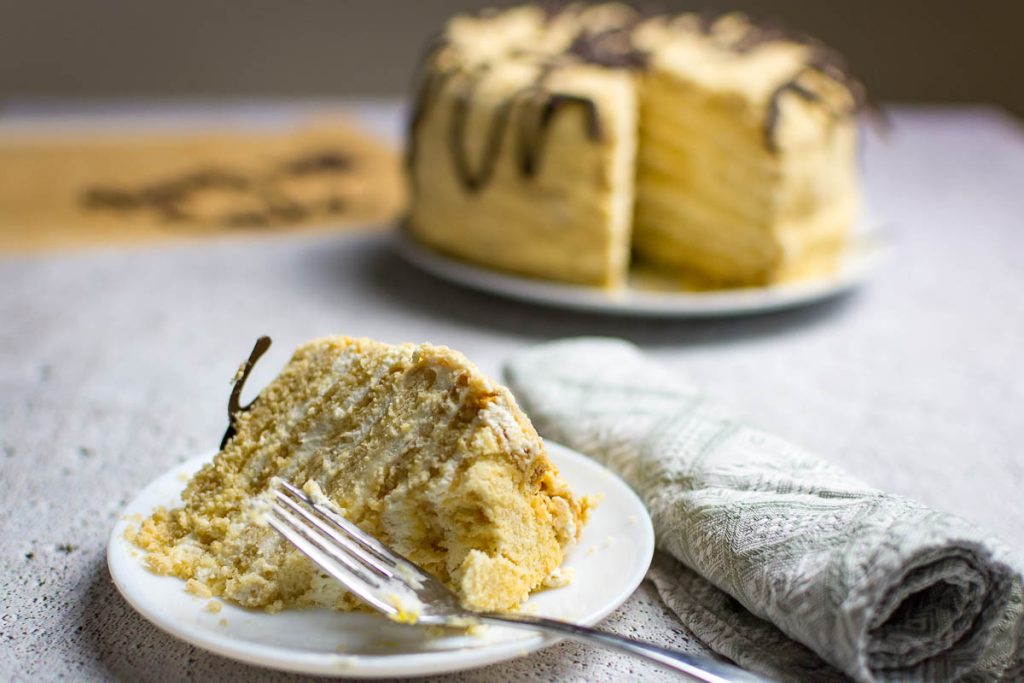
Both are often referred to as Medaus Tortas or Medutis, which adds to the confusion. But in practice, if it’s made with sponge, is square or rectangular and includes jelly, it’s called Sodžius.
The name itself loosely translates to “a countryside house,” which feels fitting. This is a traditional Lithuanian cake often served at celebrations, but it also carries a quiet, homely charm. It’s not overly sweet, thanks to the sweet-sour note from lemon juice and sour cream, and it’s best after resting — something Lithuanians have always understood instinctively.
I always preferred this version growing up. Not necessarily because it was better (that debate is ongoing in every Lithuanian kitchen), but because it felt special. The jelly cubes, the softness, the fact that it wasn’t the one you saw all the time — it made it feel like a proper treat.
Ingredient Notes
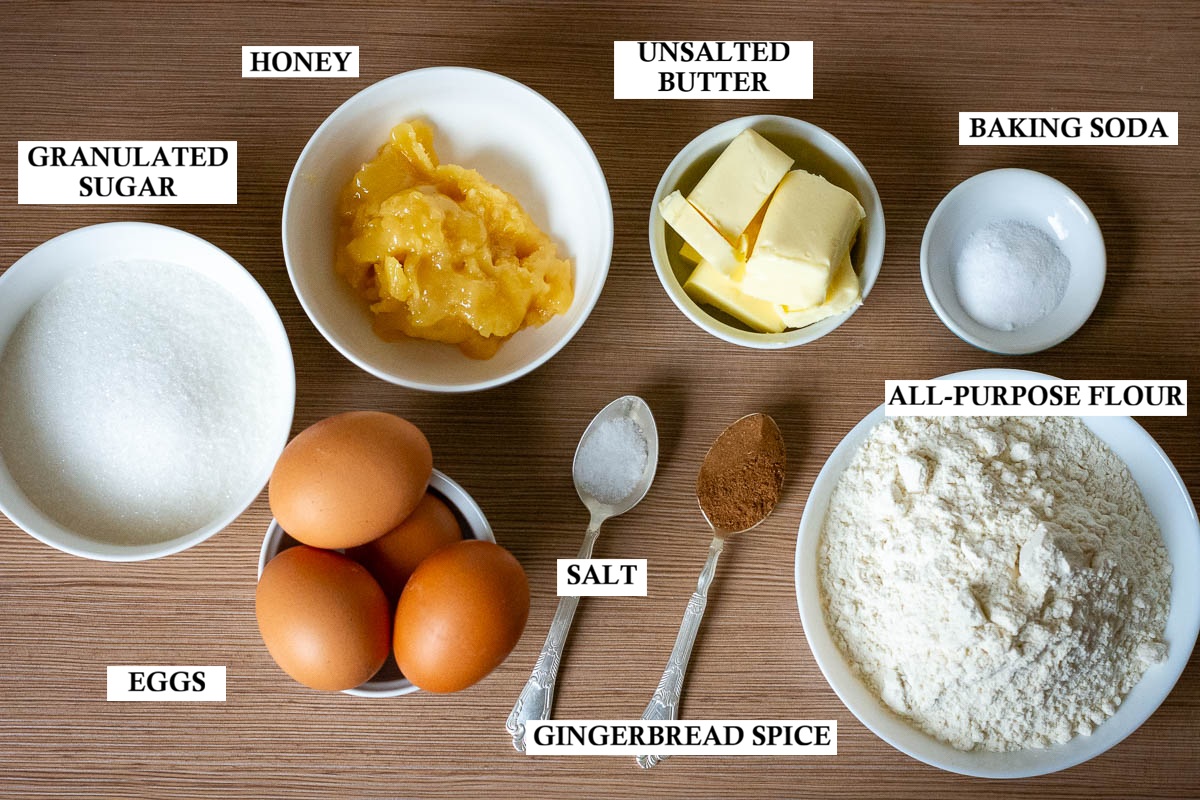
- Eggs & Sugar. These form the base of the sponge. Beating them well is key to achieving light, airy cake that can be cut into thin layers.
- Honey. Use a mild honey so it doesn’t overpower the cake. This is what gives the cake its identity as a honey cake recipe.
- Butter. Adds richness and softness. Make sure it’s cooled slightly before mixing.
- Flour (All-Purpose Flour). Standard flour works perfectly. Sift it to keep the sponge light.
- Baking Soda & Spice. Baking soda reacts with the honey and helps the sponge rise. Gingerbread spice adds warmth and depth.
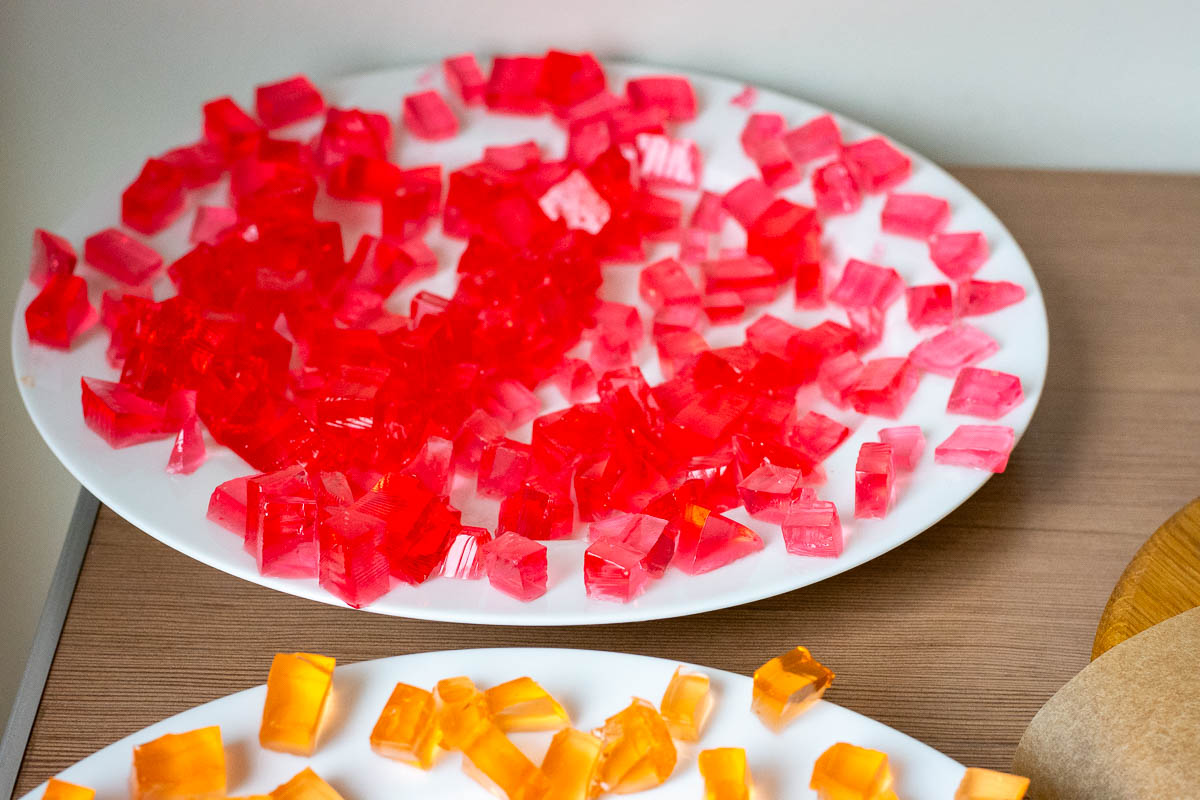
- Jelly (Jell-O). Set it with half the water listed on the packet so it’s firm enough to cube cleanly. We used two different colours (strawberry and peach), but the flavor matters less than the color here.
- Sour Cream / Crème Fraîche. Use full-fat (ideally 40–45%). This is crucial for best results. Lower fat versions won’t set properly. Depending on where you are in the world, crème fraiche typically has higher fat percentage. If you cannot find high-fat sour cream, use heavy cream instead with an extra dash of lemon.
- Powdered Sugar & Lemon Juice. Balance the filling with a gentle tang. You can add a little lemon zest for extra brightness.
Step-By-Step Method
1. Prepare the jelly. Make the jelly using half the water stated on the packet (you want it set rather firm). Chill until firm, then cut into small cubes. Set aside.
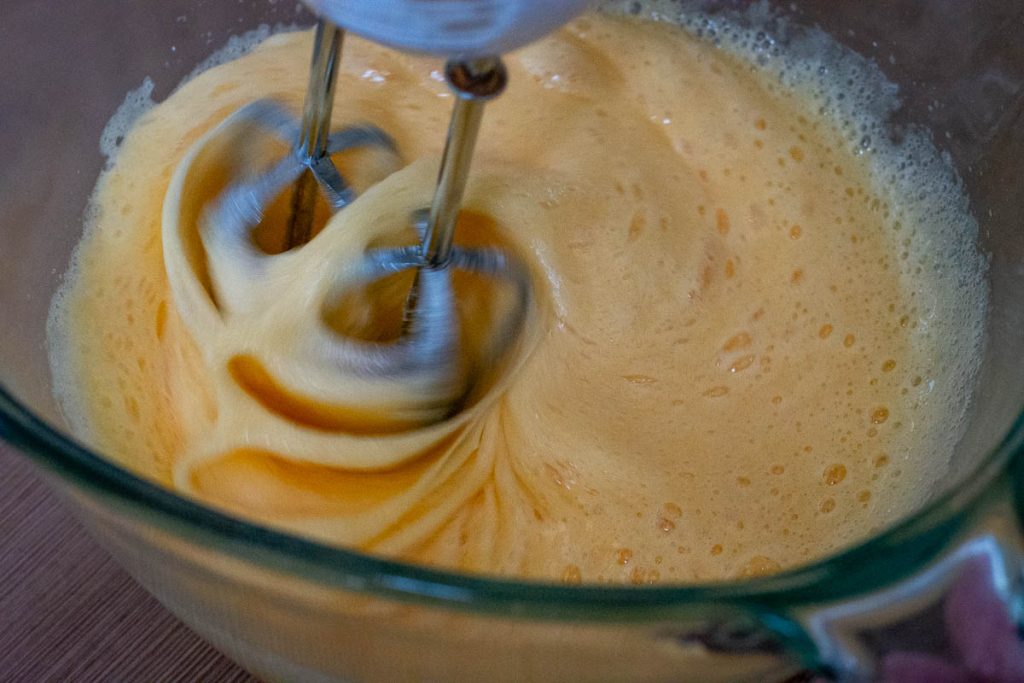
2. Make the sponge. In a large bowl, use an electric whisk to beat eggs and sugar for 2–3 minutes until pale and airy.
Add honey and melted butter, mix briefly.
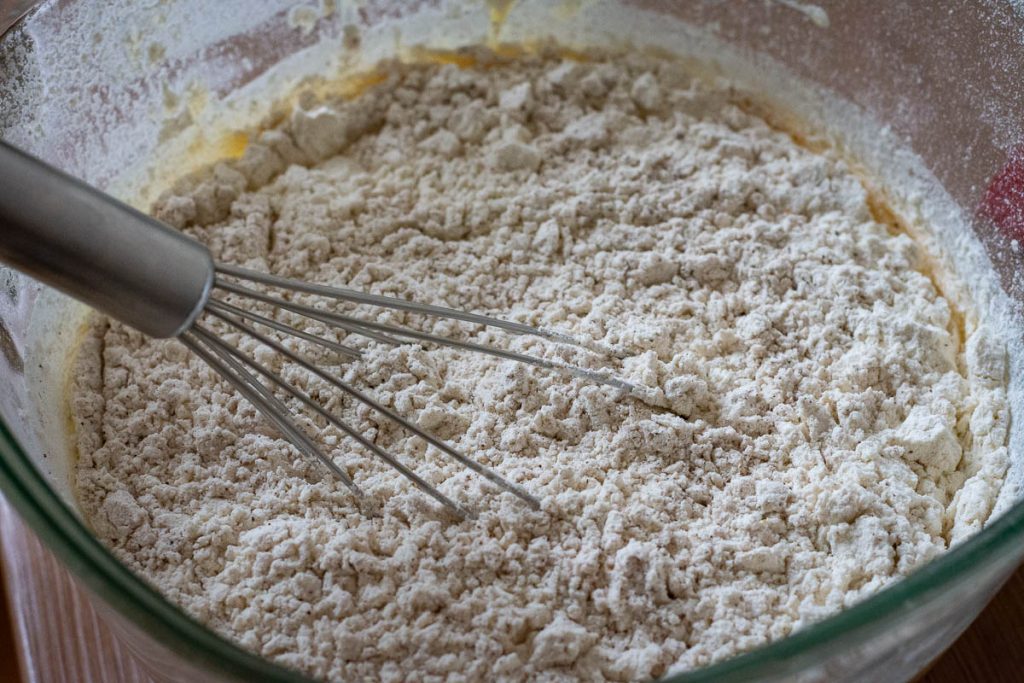
Fold in sifted flour, baking soda, and spice using a wooden spoon.
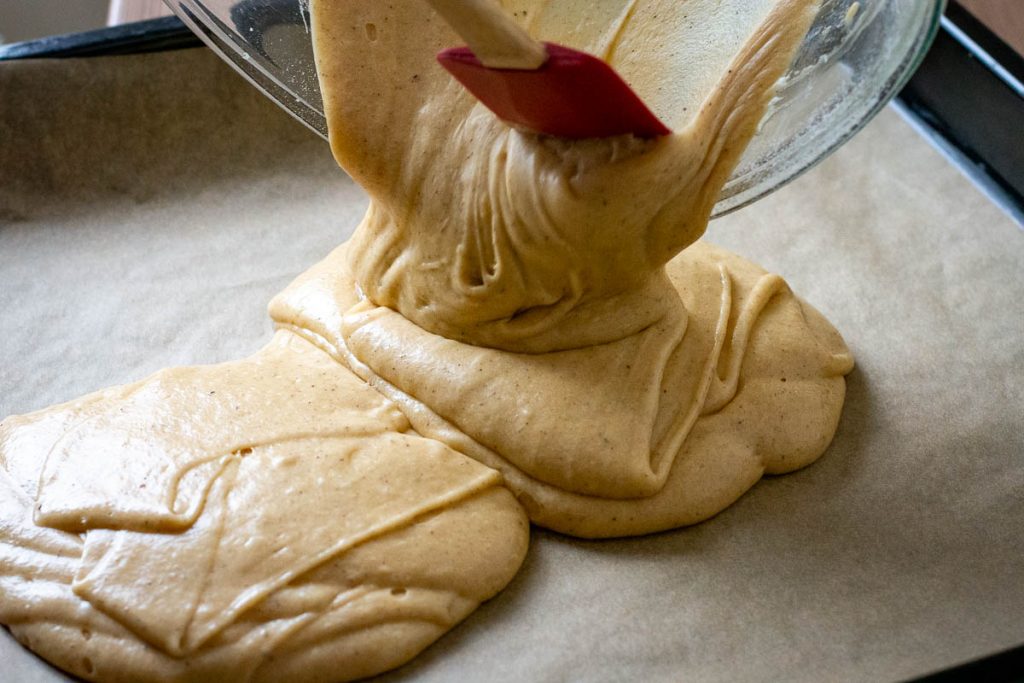
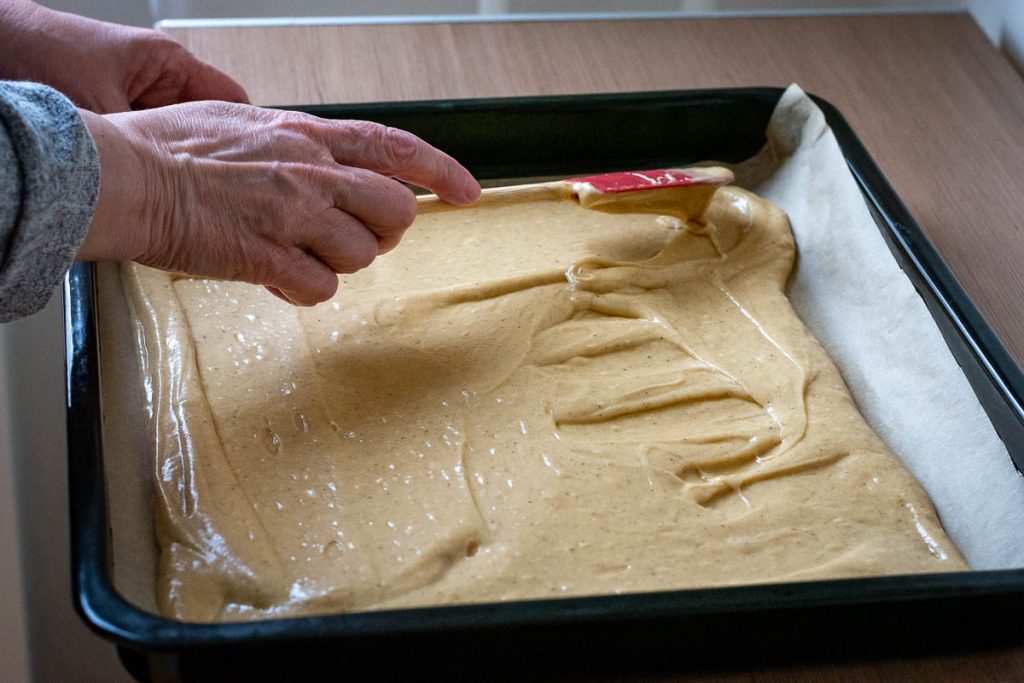
3. Bake. Pour the batter onto a lined tray with parchment paper. Bake in a preheated oven at 350°F (180°C) for 12–15 minutes until golden brown.
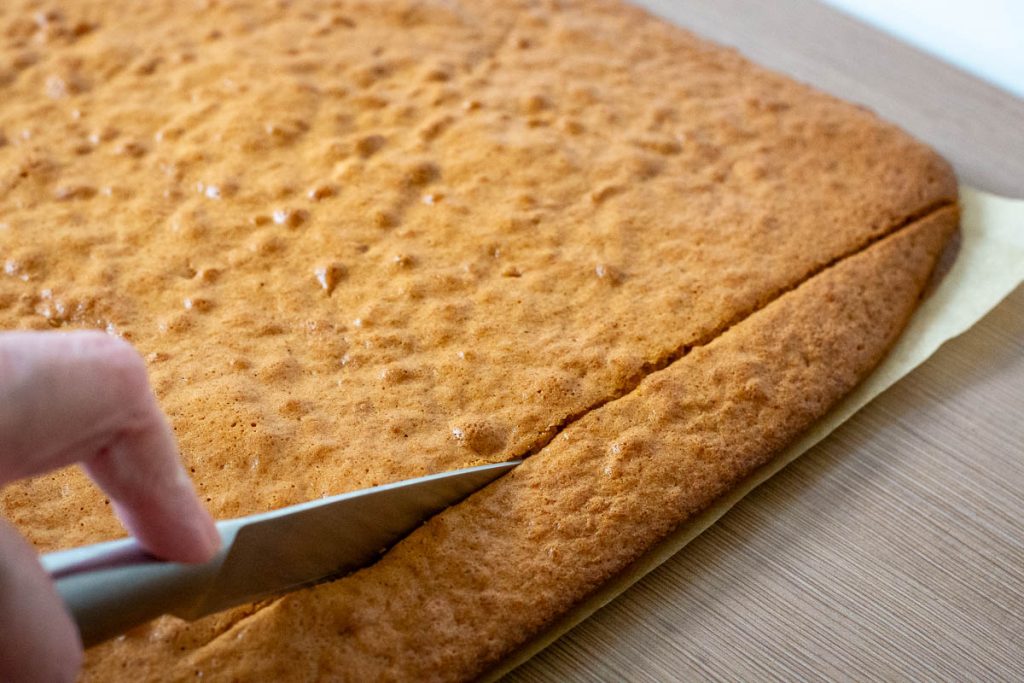
4. Cool and slice. Turn the sponge out, remove baking paper, and trim edges.
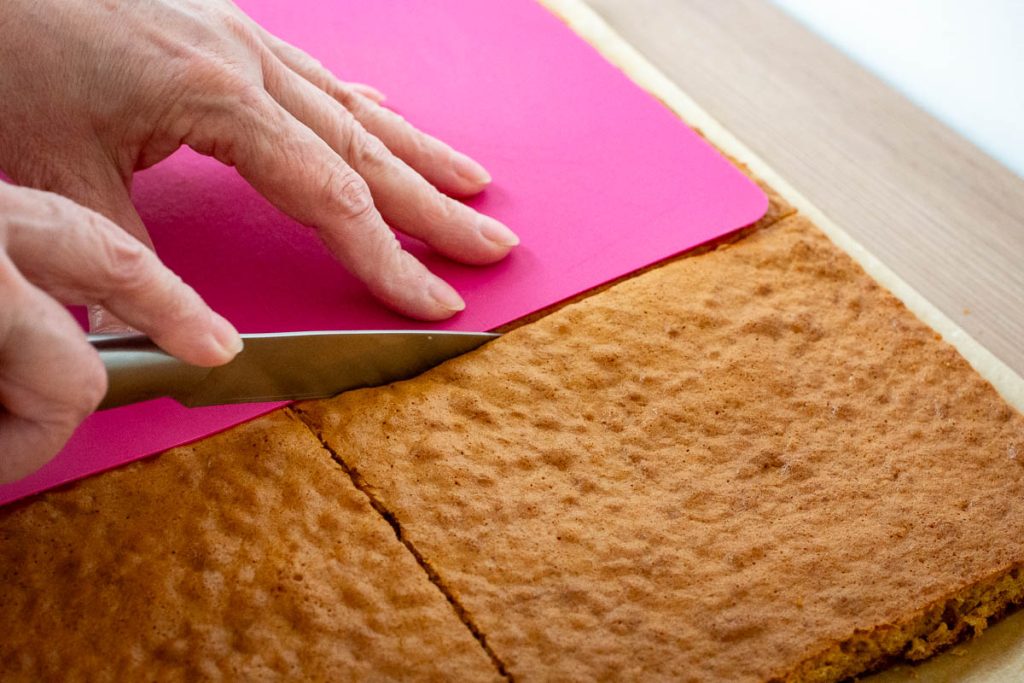
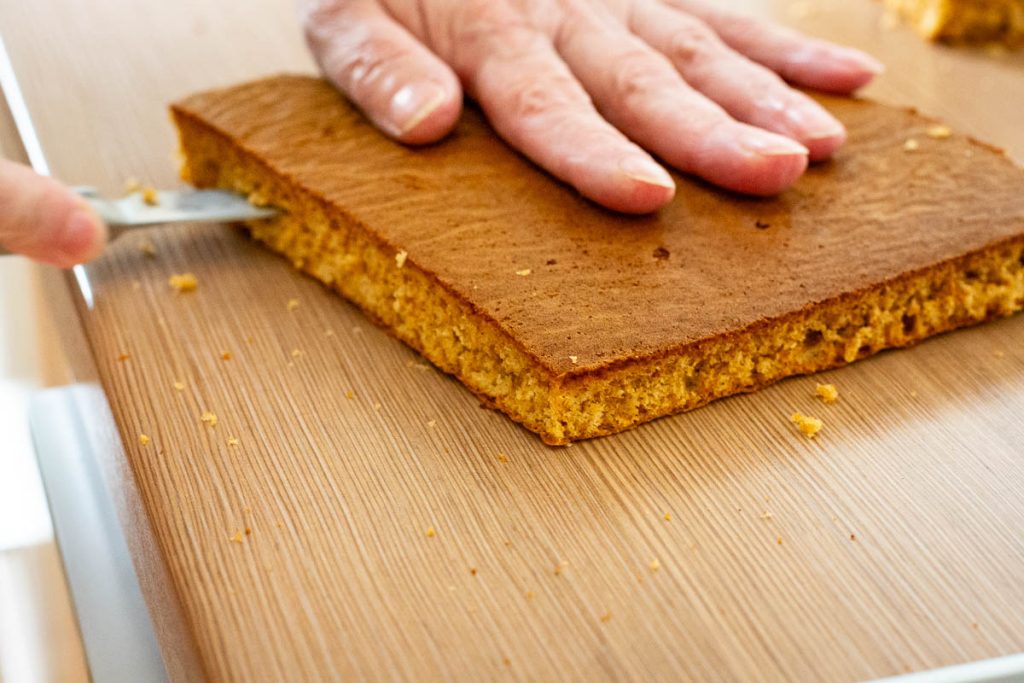
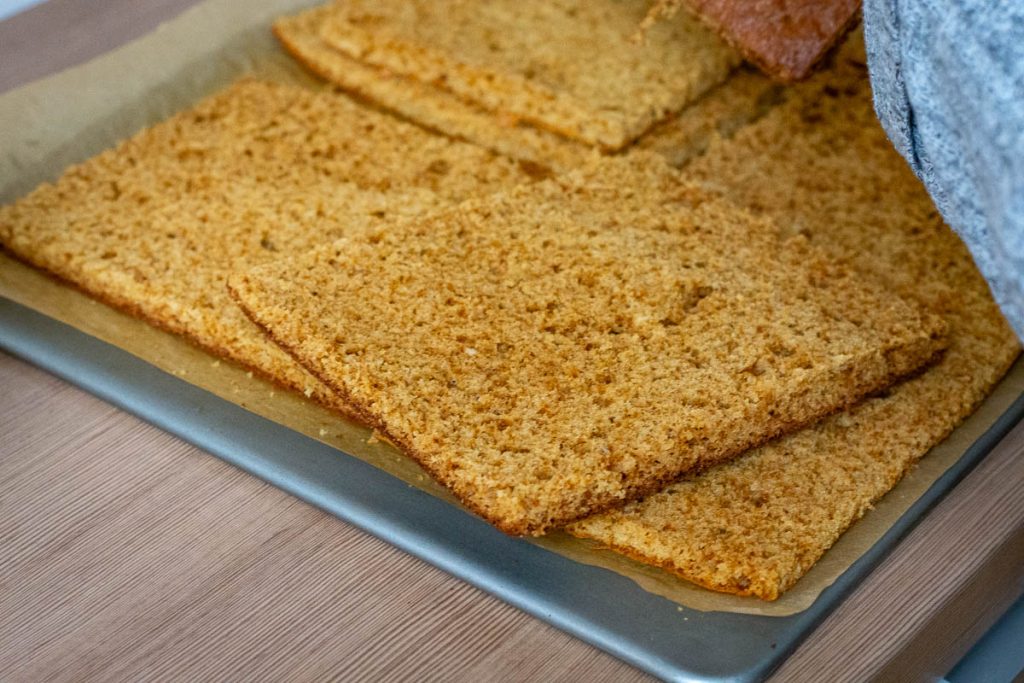
Cut into rectangles, then slice horizontally into thin layers (about 8 total). Any leftover cookie pieces should be crumbled up and dried out in a warm, dry spot or in a low oven. We will need them for decorating, so try not to eat the cut-offs.
5. Prepare the filling. Whisk sour cream and powdered sugar, then add lemon juice. The mixture will be soft—this is normal.
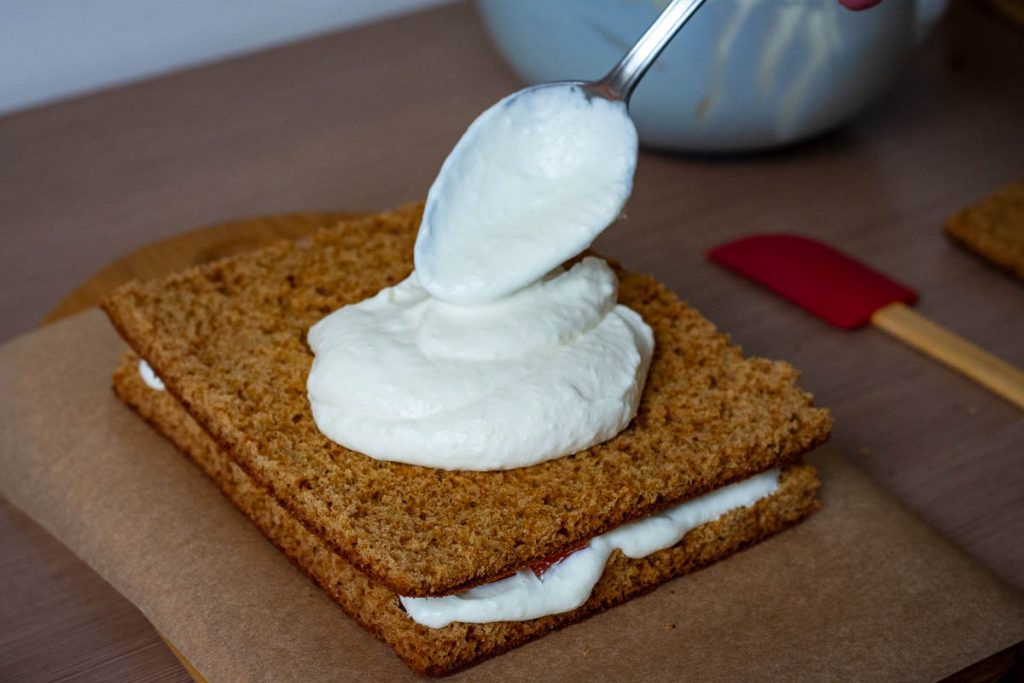
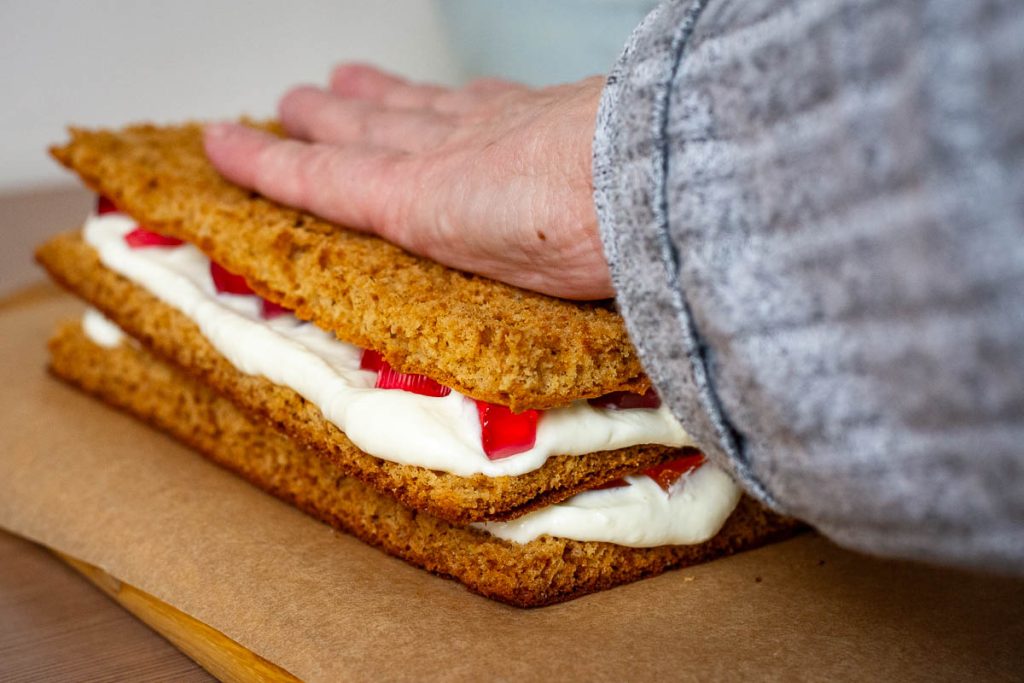
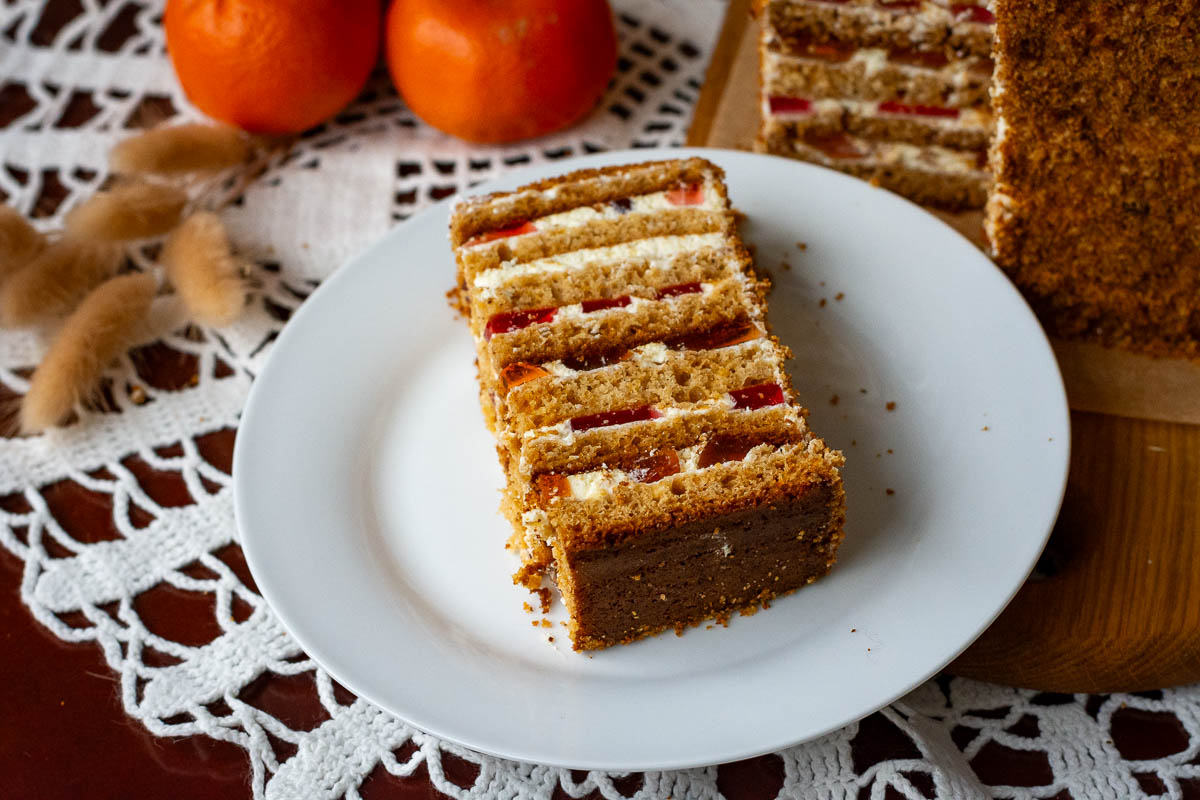
6. Assemble. Layer sponge → cream → jelly → repeat until all layers are used.
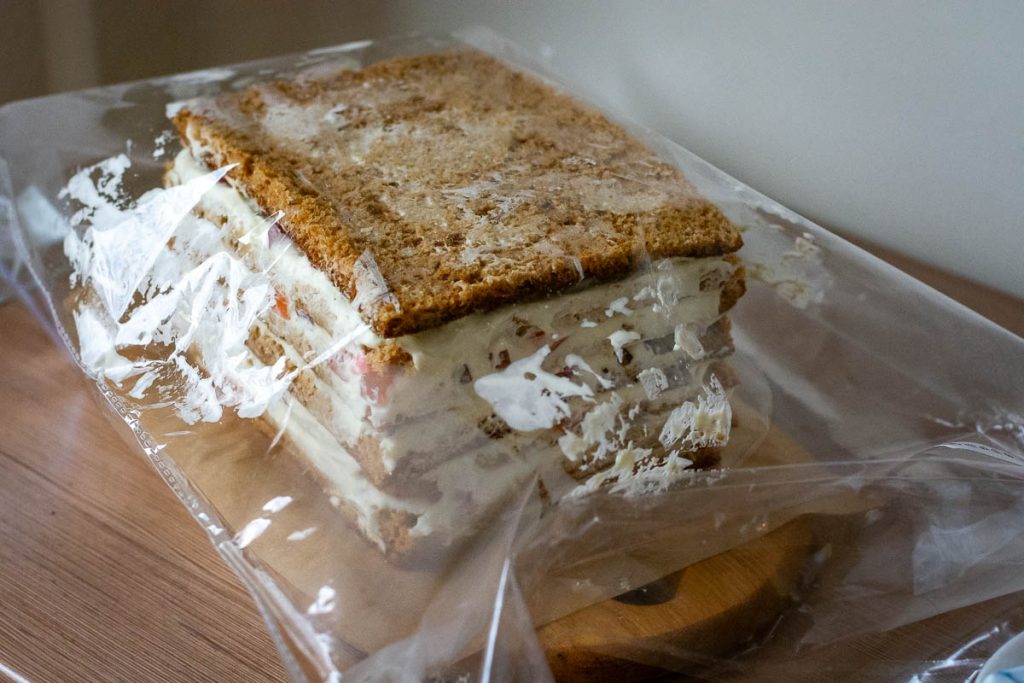
Finish with a sponge layer on top. Cover with plastic wrap and refrigerate for at least 8 hours.
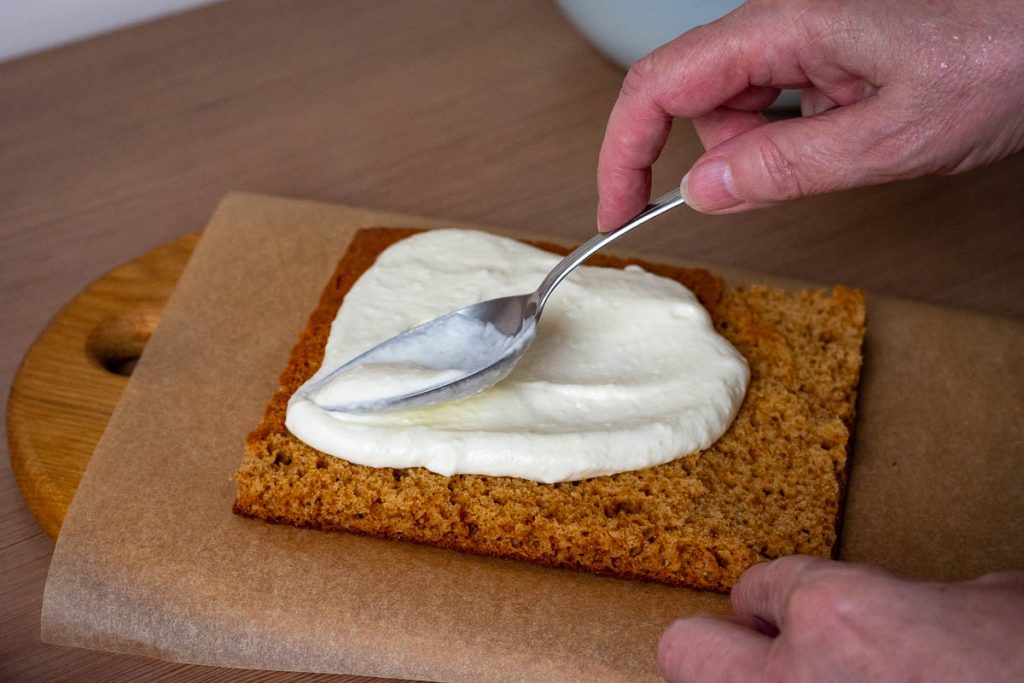
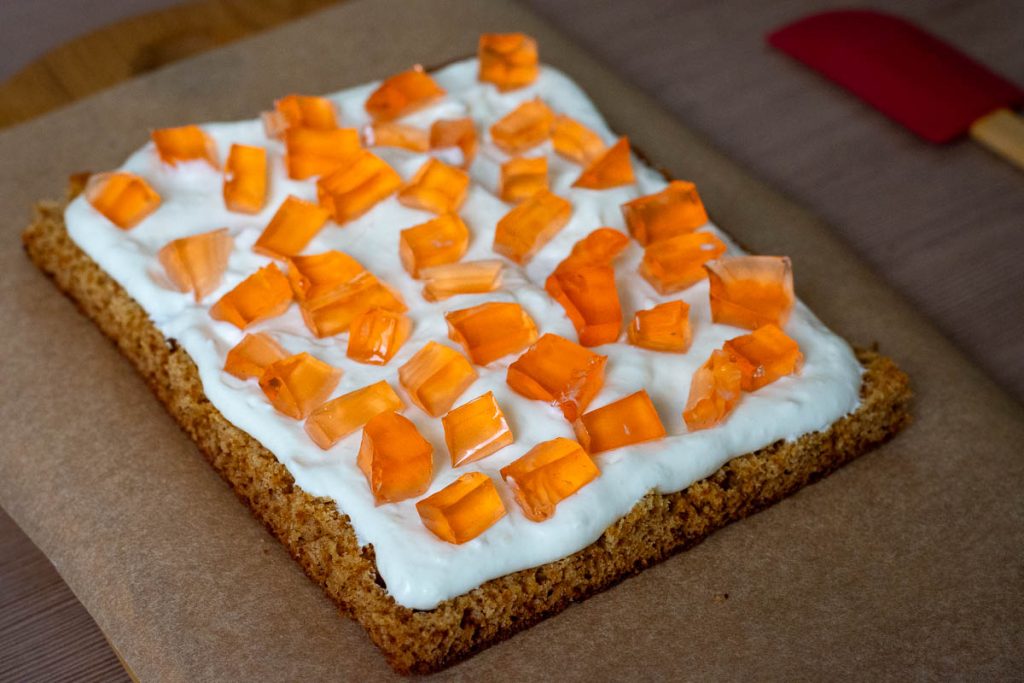
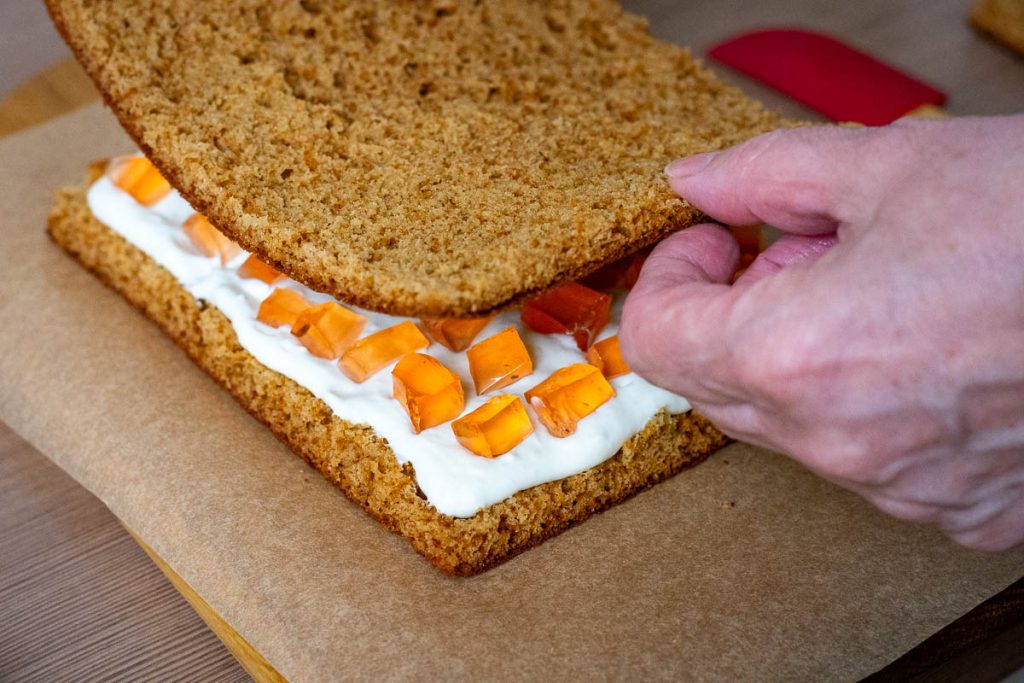
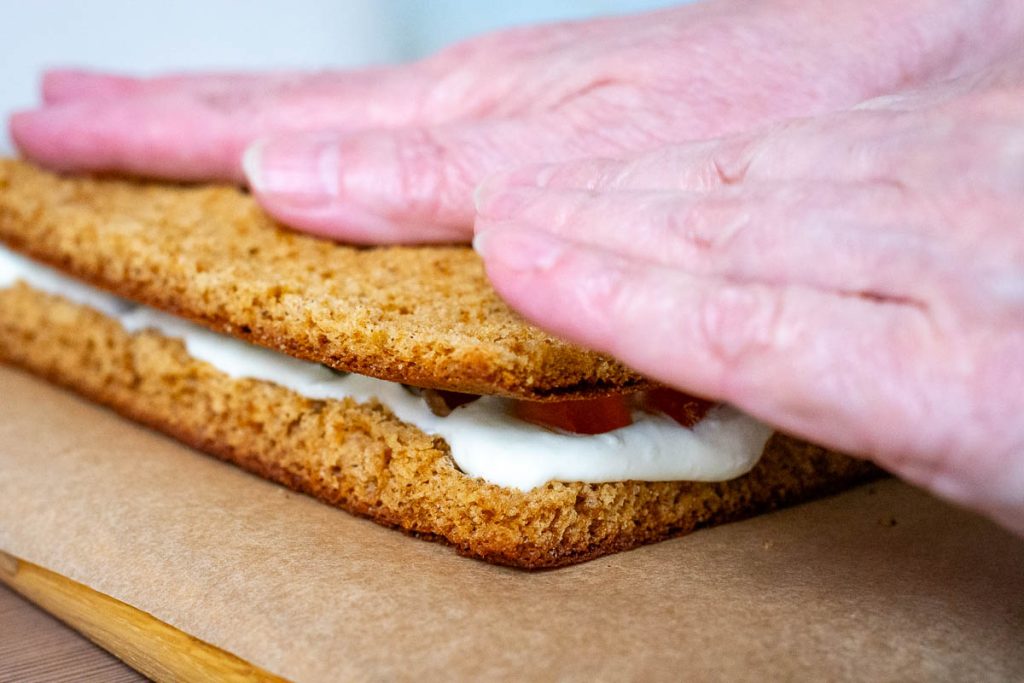
7. Make the frosting (Day 2). Prepare fresh frosting using sour cream, powdered sugar, and lemon juice.
Important: Do not make this ahead. If refrigerated overnight, it firms up too much and won’t spread evenly. Plus, the crumbs will not stick to it!
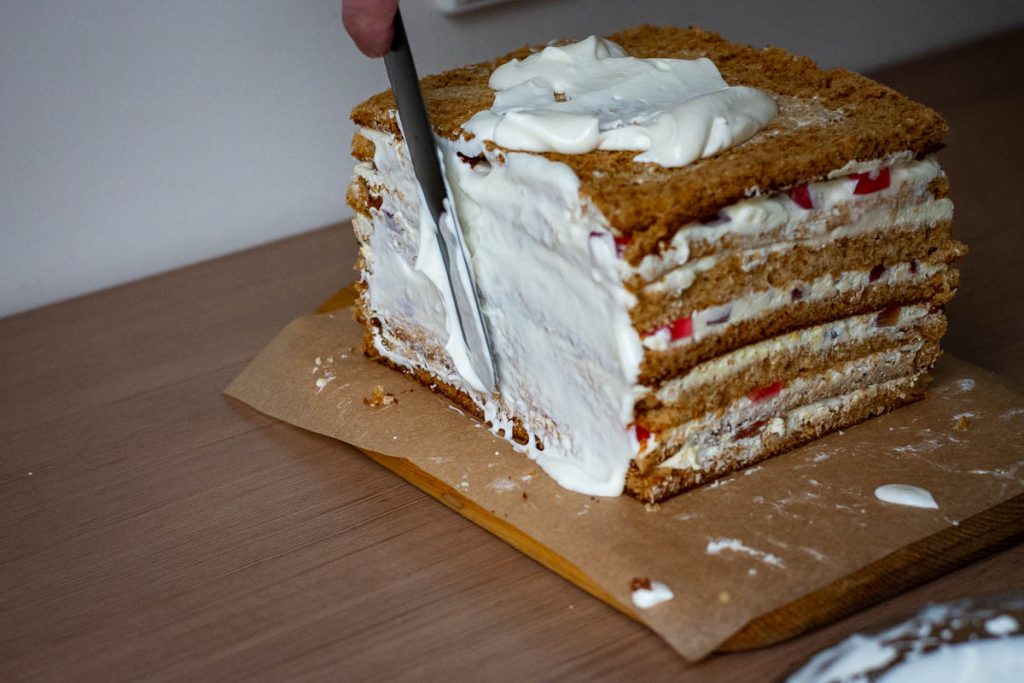
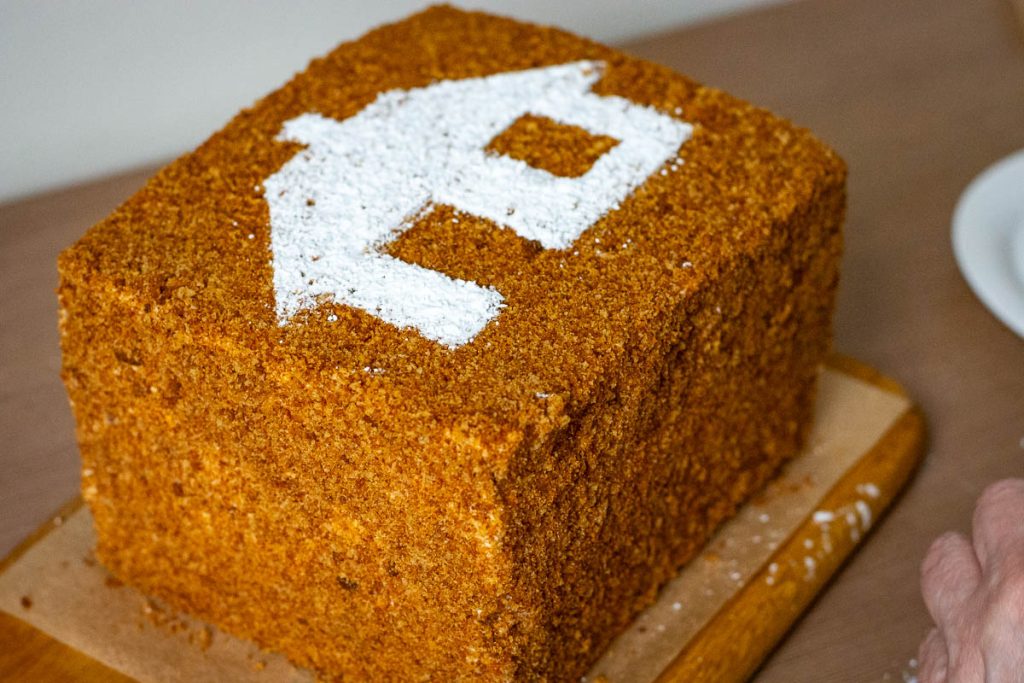
8. Finish the cake. Spread frosting over the top of the cake and sides. Press sponge crumbs onto the surface to coat.
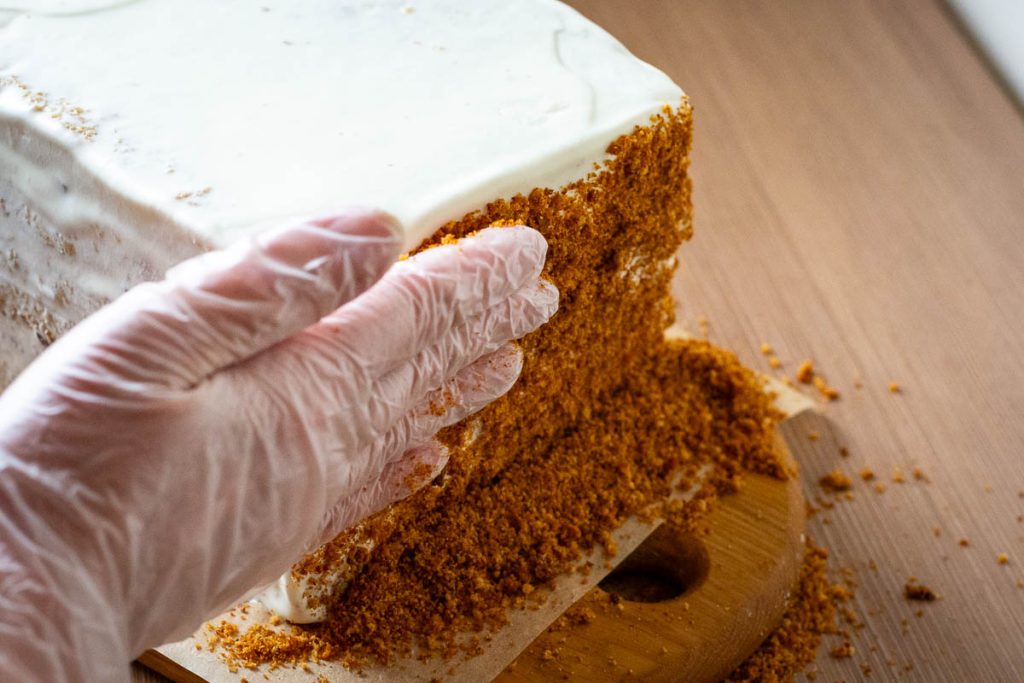
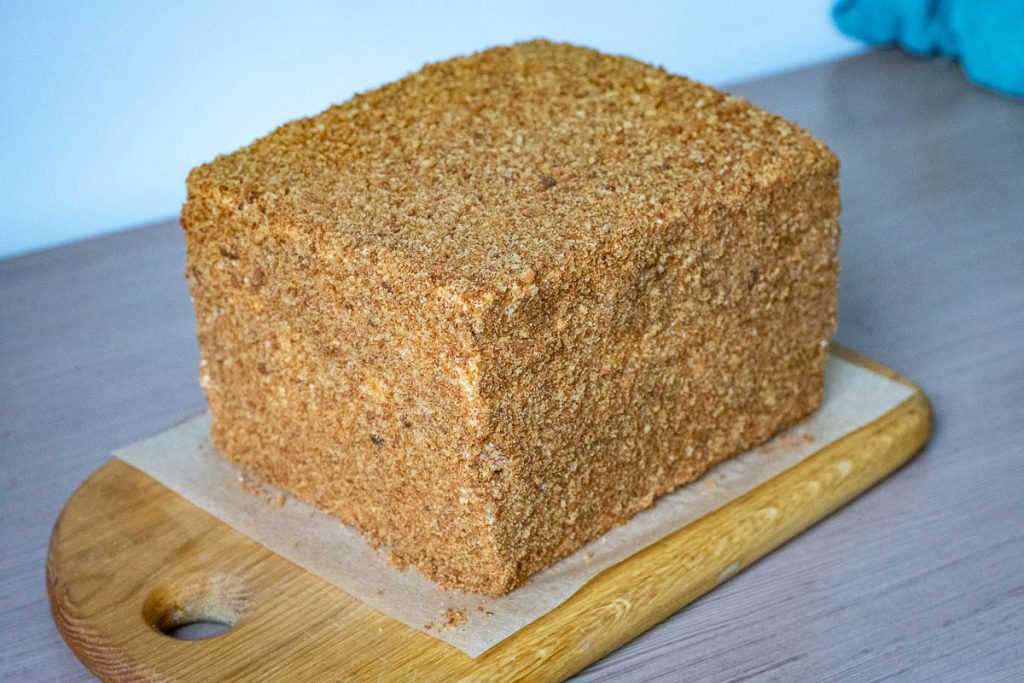
9. Decorate (Optional). Decorate with fresh berries, chocolate, or dust with powdered sugar. For a traditional touch, create a stencil design — “Sodžius” means a countryside house, and decorative motifs are often inspired by this.
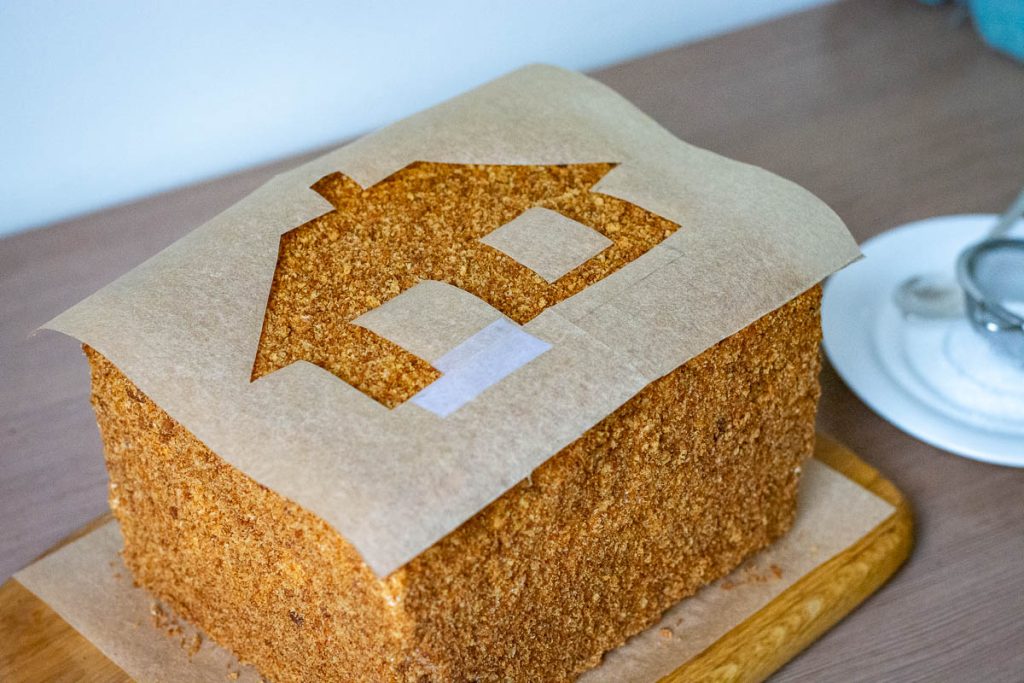
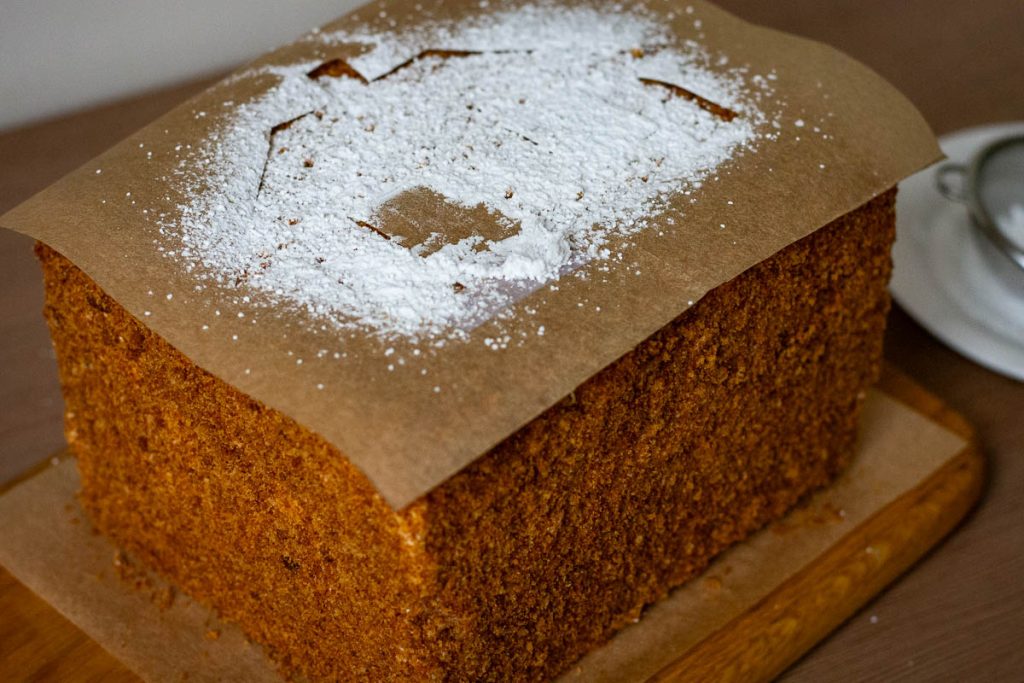
Recipe Tips
- Whip the eggs properly. This is what gives the sponge lift. Under-mixing will result in dense layers.
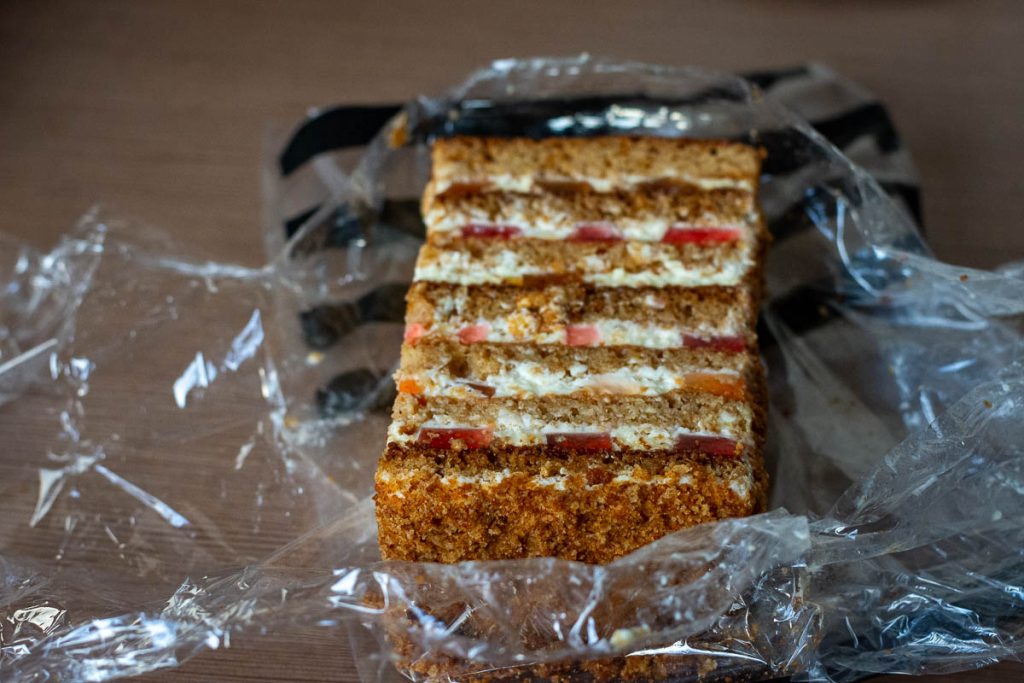
- Cutting thin layers. It can be tricky. Use a long knife and go slowly. If the sponge baked unevenly, slice the thicker parts and use the extras for crumbs. As you can see in the photos, we only have 7 sponge layers in ours, because one corner was simply too thin to slice in half 🙂
- Jelly must be firm. Use less water when setting it, or it will fall apart when cutting.
- Filling consistency. It will seem runny at first — don’t panic. It firms up beautifully during the cake rest.
- Use high-fat dairy. This is non-negotiable. Low-fat sour cream won’t give the same structure.
- Chilling is essential. This cake needs at least 8 hours in the fridge to fully develop its texture. That’s when it becomes something special.
Storage
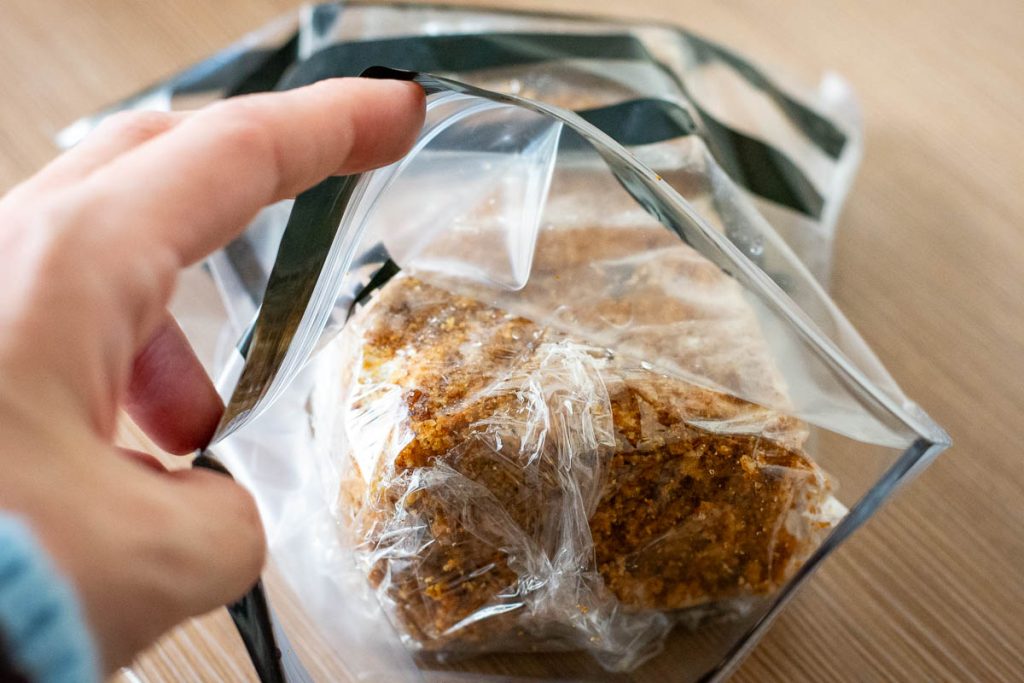
Store the cake covered in the fridge with plastic wrap or in an airtight container for up to 3–4 days.
It also freezes surprisingly well. We tested this recently for the first time, and both my mum and I agreed — it actually tasted even better after freezing and thawing. The texture becomes more unified, and the flavors deepen.
Freeze large pieces or slice the cake and freeze portions individually. Defrost overnight in the fridge.
More Lithuanian Cake Recipes
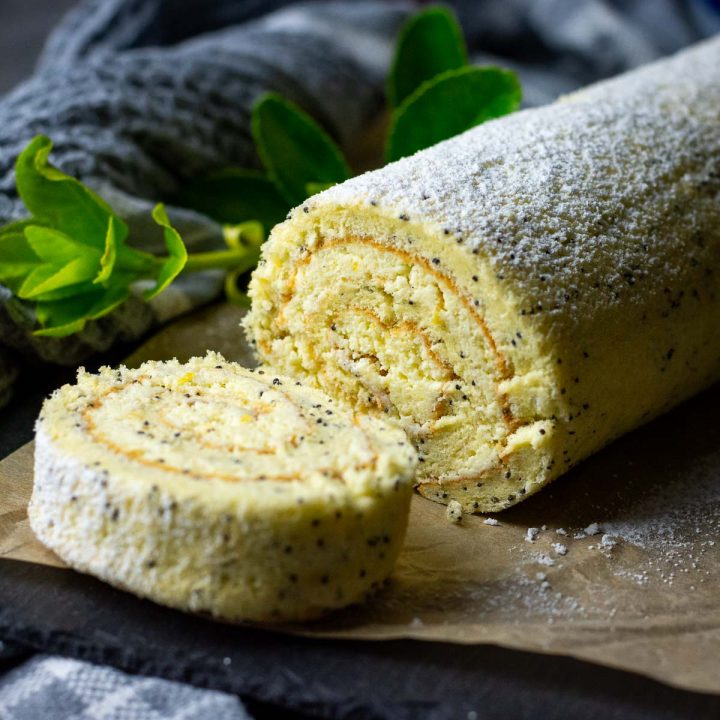
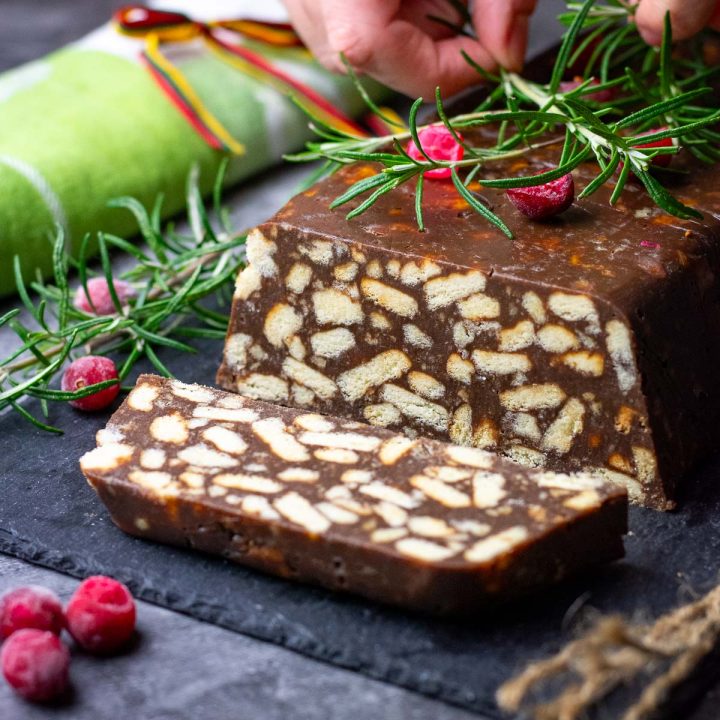
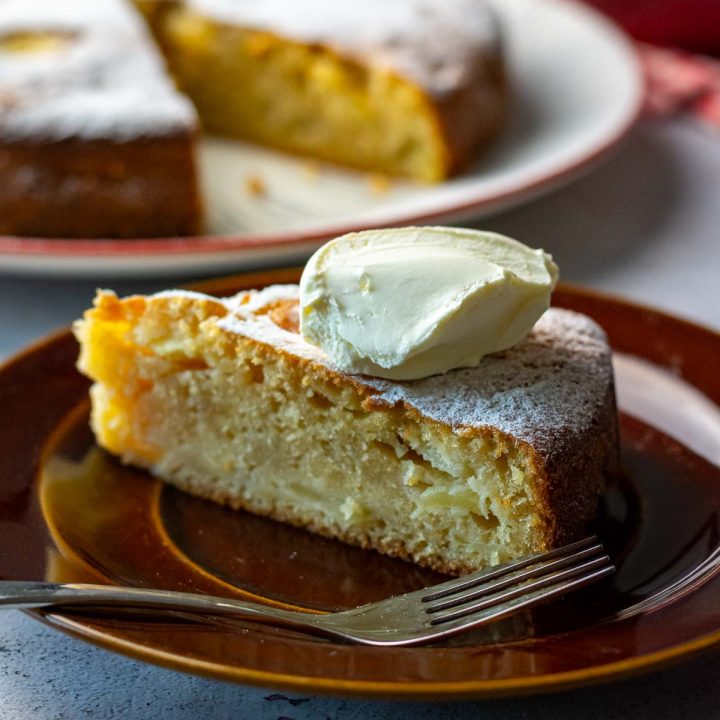
If you love this nostalgic Lithuanian cake, there are plenty more traditional bakes to explore — each with its own story and place in Lithuanian kitchens.


Lithuanian Honey Sponge Cake "Sodžius"
Equipment
- Large rimmed baking sheet (17×14 inch / 43×36 cm)
- Electric Handheld Mixer
- Parchment Paper
Ingredients
For the Honey Sponge
- 170 g (¾ cup) granulated sugar
- 4 large eggs
- 120 g (⅓ cup) honey
- 100 g (7 tbsp) unsalted butter, melted and cooled
- 1 teaspoon baking soda bicarbonate of soda
- ½ teaspoon salt
- 1½ teaspoon gingerbread spice
- 250 g (2 cups) all-purpose flour
For the Filling
- 250 g (8–9 oz) jelly (Jell-O) set firm (see instructions)
- 500 g (2 cups) sour cream or crème fraîche full-fat (35–40%)
- 60 g (½ cup) powdered sugar
- Juice of ½ lemon
For the Frosting
- 150 g (⅔ cup) sour cream or crème fraîche, full-fat
- 20 g (2 tbsp) powdered sugar
- Juice of ¼ lemon
For Decorating
- Sponge cake trimmings crumbs
- Fresh berries or chocolate optional
Instructions
Prepare the Jelly
- Prepare the jelly in advance so it has time to fully set.
- Use half the amount of water stated on the packet instructions to ensure it is firm and sliceable.
- Refrigerate until set, then cut into 1 cm (⅓ inch) cubes.
Make the Honey Sponge
- Preheat the oven to 350°F (180°C).
- Line a large baking sheet with parchment paper.
- In a large mixing bowl, beat the eggs and sugar using an electric mixer for 2–3 minutes, until pale, creamy, and slightly increased in volume.
- Add the honey and cooled melted butter. Mix for 30–60 seconds until combined.
- Add the baking soda and salt, and mix briefly.
- In a separate bowl, combine the flour and gingerbread spice.
- Sift into the wet mixture and gently fold until smooth, being careful not to deflate the batter.
- Pour the batter onto the prepared baking sheet and spread into an even layer.
- Bake for 12–15 minutes, until golden brown and springy to the touch.
- Allow the sponge to cool completely in the pan.
Trim and Slice the Sponge
- Turn the cooled sponge onto a clean surface and carefully peel off the parchment paper.
- Trim the edges to form a neat rectangle, approximately 12×14 inches (30×36 cm).
- Reserve all trimmings for later.
- Cut the sponge into 4 equal rectangles, then slice each horizontally to create 8 thin layers.
- If uneven, adjust by splitting thicker layers. Our cake, as pictured, has 7 sponge layers.
Prepare the Sour Cream Filling
- In a large bowl, combine sour cream and powdered sugar.
- Whisk until smooth.
- Gradually add the lemon juice, whisking continuously until slightly thickened. (The mixture will remain soft and spoonable.)
Assemble the Cake
- Place the first sponge layer on a board or plate.
- Spread a thin layer of cream (about ⅐ of the total).
- Scatter some jelly cubes evenly over the cream.
- Top with the next sponge layer and repeat the process.
- Continue layering, finishing with a sponge layer on top.
- Gently press the cake down to level it.
- Cover and refrigerate for at least 8 hours or overnight.
Prepare the Crumbs
- Crumble the reserved sponge trimmings.
- Leave them in a dry place overnight to dry out, or dry in a low oven for 10–15 minutes. Watch them carefully, you don't them burnt.
- Blitz into fine crumbs using a food processor. Set aside for tomorrow.
DAY 2
Make the Frosting
- In a bowl, beat the sour cream and powdered sugar until smooth.
- Gradually add lemon juice and whisk until slightly thickened.
Finish the Cake
- Spread a thin layer of frosting over the top and sides of the cake.
- Press the prepared crumbs all over the cake to coat evenly.
Decorate (Optional)
- Decorate with fresh berries, chocolate, or dust with powdered sugar.
- For a traditional touch, create a stencil design — “Sodžius” means a countryside house, and decorative motifs are often inspired by this.
Video
Notes

Leave a Reply